

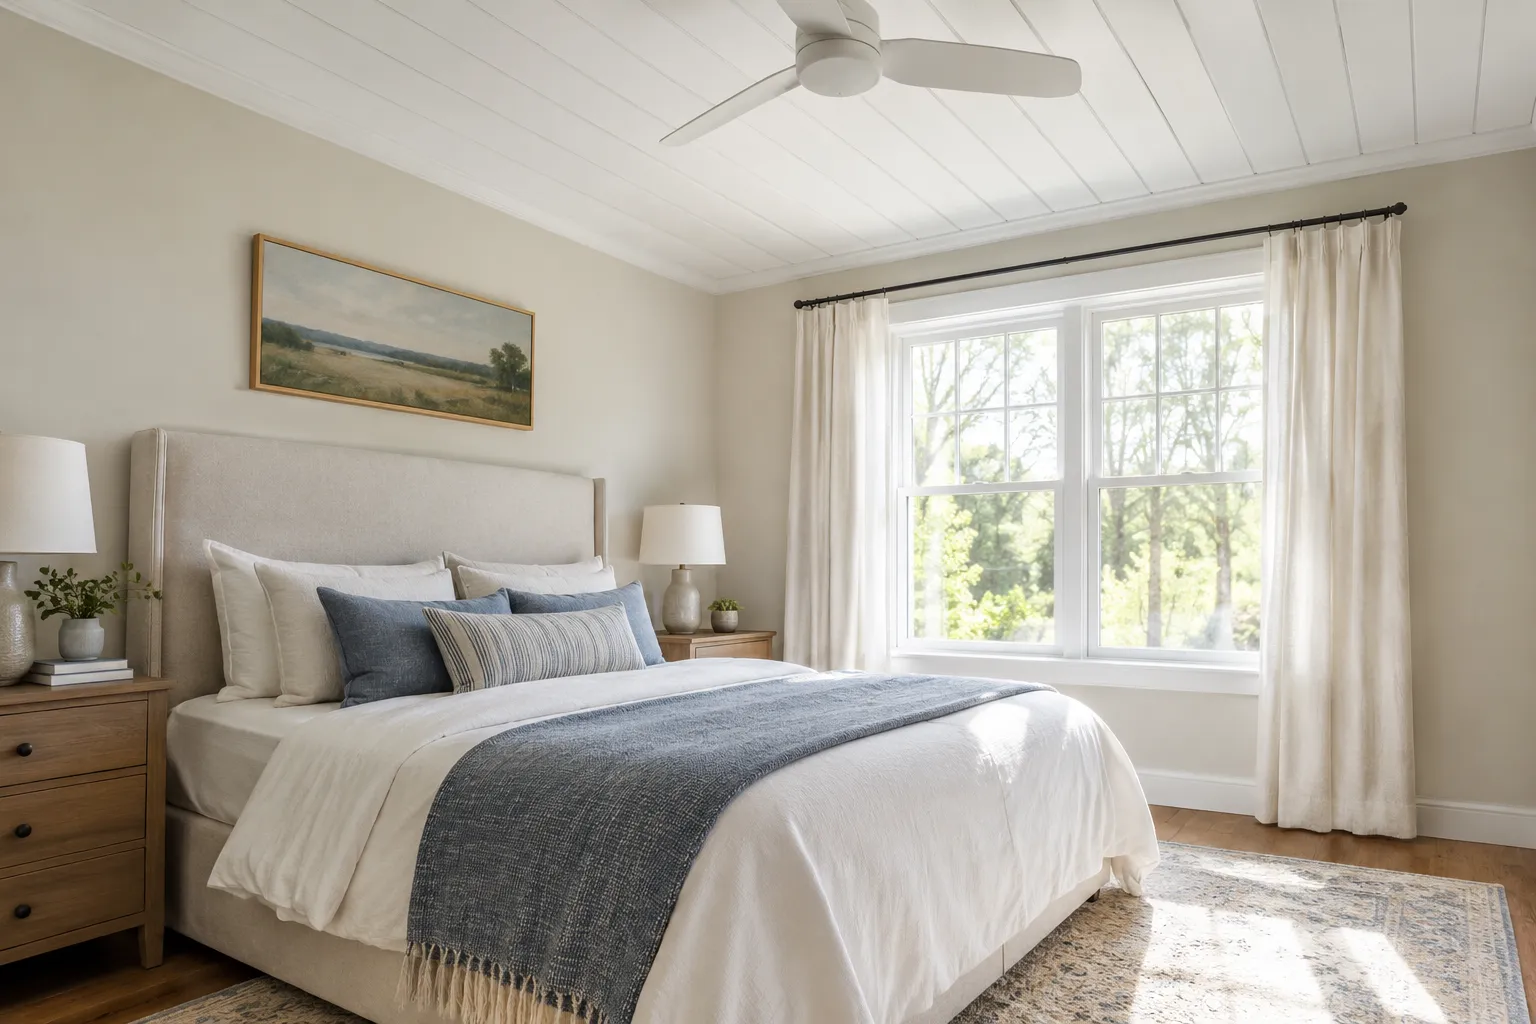
A shiplap ceiling is a good choice when you want more texture overhead or need to cover an old surface. Materials run about $2.50 to $7 per square foot. A do-it-yourself room is estimated at $350 to $1,000. If you hire a carpenter, labor usually costs $35 to $100 per hour.
Two rules matter most. First, nail the boards into the ceiling joists, not just the drywall. Second, if the ceiling is old and textured, test for asbestos before you drive any nails. The main trade-offs are the difficulty of overhead work, gaps that can open as the wood moves, and harder access to wiring later.
What is a shiplap ceiling?
True shiplap is a board that has an L‑shaped notch called a rabbet cut along each edge. When two shiplap boards sit side by side, a small, intentional gap remains between them. That gap creates the shadow lines shiplap is famous for. Bob Vila’s guide says that tongue‑and‑groove boards lock together with no gap while shiplap boards leave a gap on purpose.
Many “shiplap” ceilings use substitute materials instead of real shiplap. Plywood or MDF sheets can be cut into planks, and PVC planks can mimic the look in damp rooms. Because these substitutes don’t have rabbeted edges, you have to create the gaps yourself.
Pros and cons of a shiplap ceiling
What works in its favor
- A shiplap ceiling can cover cracks, patched drywall and old textured finishes. That is a big reason why people choose a shiplap ceiling.
- Texture and warmth replace a forgettable surface when a shiplap ceiling is used.
- Bob Vila notes that a shiplap ceiling often costs less than a smooth professionally finished drywall ceiling.
- Indoors, wood lasts a long time, and you can change the look later with a new coat of paint or stain.
What to weigh first
- Overhead work is physically demanding. Angi rates a do‑it‑yourself job as intermediate and suggests finding a helper.
- Wood moves with humidity. As a result, gaps can open and close as the seasons change.
- Dust settles in the grooves. Repairs are harder than patching drywall.
- Standard boards often add three quarters of an inch of thickness. This lowers the ceiling slightly.
- Wiring and light fixtures need planning, which is covered below.
What a shiplap ceiling costs
Think of cost in four pieces: boards, supplies, labor, and prep.
Board prices
Bob Vila, citing Angi and HomeAdvisor, puts shiplap ceiling materials at $2.50 to $7 per square foot. That works out to about $1,000 for a flat 200-square-foot ceiling. Prices vary by material:
| Material | Typical cost (materials only) | Notes |
|---|---|---|
| Pine | $2.50–$4 per sq ft | Takes paint or stain well; a common choice |
| Cedar | $2.50–$7 per sq ft | Naturally rot-resistant; suits covered porches |
| Hardwood | $0.80–$4 per sq ft | Durable, with more grain character |
| MDF sheets | $15–$60 per sheet | One sheet cuts into 7 or 8 planks; no rabbet, so spacing is on you |
| Plywood sheets | $40–$70 per sheet | Same rabbet limitation; less prone to swelling than MDF |
| PVC planks | About $2.50 per sq ft | Low maintenance; looks less authentic |
DIY total
Angi estimates that a DIY job will cost between $350 and $1,000. The work takes about two days: on the first day you cut and install the boards, and on the second you fill gaps, sand, and paint. The range includes nails, adhesive, and finishing supplies. Angi also suggests buying 10 percent extra boards to cover cutting mistakes.
Labor
Carpenters charge between $35 and $100 per hour according to Bob Vila. Ceilings usually fall toward the high end of that range because working overhead takes more time. Attics and vaulted ceilings cost more because of the added complexity. One supplier estimates that an average room takes 8 to 16 hours, but that is only an estimate, so ask your contractor for their own time and price.
Adding it up for a 200-square-foot ceiling, a professional job comes in around $800 to $3,000. That figure is an estimate calculated from the rates and hours above, not a quote. Prices can change depending on where you live and the type of wood used. Another supplier says a 150-square-foot ceiling costs between $1,000 and $3,000 when installed.
Prep and repairs
A leaking or sagging ceiling must be fixed first. Bob Vila lists ceiling repairs at $419 to $1,359.
A note on dates
Bob Vila’s article was last updated in January 2024, so treat its figures as a baseline. Lumber and labor prices change, so a local lumberyard quote beats any national average.
Shiplap ceiling design ideas
Paint it white or a soft neutral. This classic farmhouse look brightens a room. Pre-painting the boards also makes hanging easier and keeps seasonal gaps from showing bare wood.
Stain it for warmth. Natural or lightly stained wood suits bedrooms, dens, and kitchens. Nail holes blend in, so you can skip filling them. Dark wood can dim a room, however, so it works best with plenty of light.
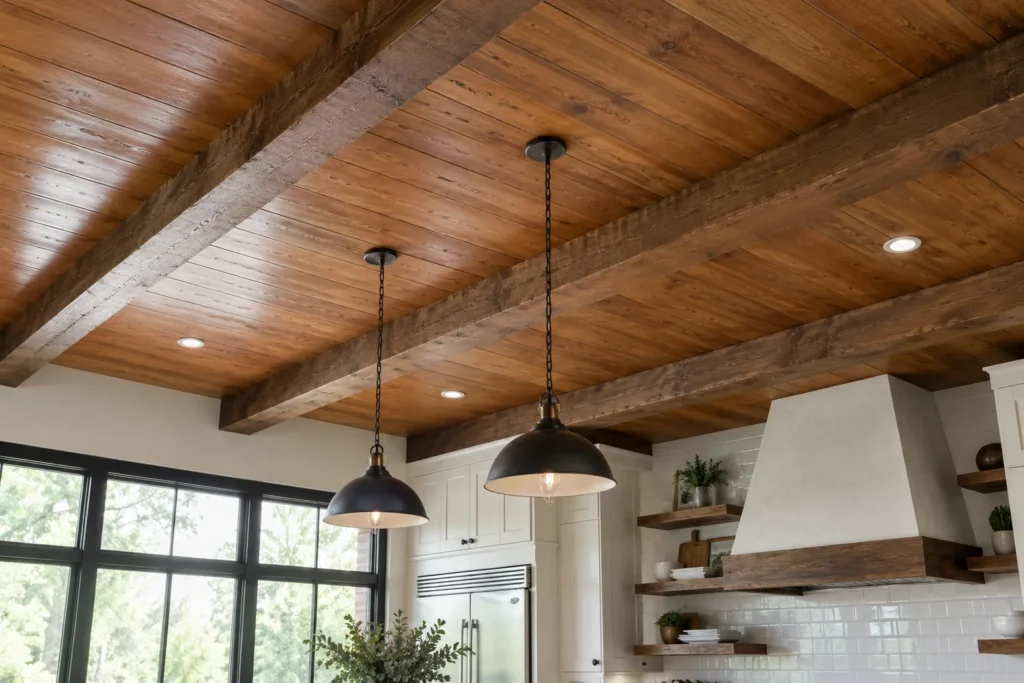
Choose a direction. Designer Danielle Nash, quoted by Bob Vila, says horizontal lines can visually widen a space. In practice, though, joist direction limits your options.
Add beams or crown molding. Crown molding hides rough edges at the walls and makes cutting more forgiving, according to Angi. With beams, run the boards up to them and nail furring strips beside any beam sitting directly over a joist.
Go bold on a porch or in a small room. A soft-colored porch ceiling is a long-standing Southern look. In a powder room or small bedroom, a deeper color can feel intentional rather than cramped.
Plan for moisture. Angi advises avoiding shower enclosures and sealing the wood in bathrooms. PVC planks sidestep the problem, but the look is less authentic.
How to install a shiplap ceiling
The steps below follow Angi’s DIY guide. For vaulted ceilings, hire a carpenter.
- Let the boards acclimate in the room for a few days so they adjust to temperature and humidity. Skipping this step is a common reason gaps appear later.
- Remove light fixtures, vent covers, and crown molding.
- Find and mark the joists with a stud finder and chalk line. They are typically 16 to 24 inches apart. Drywall and plaster can’t hold much weight, so every nail should reach a joist.
- Pick a direction. Boards should run perpendicular to the joists. To run them parallel instead, nail furring strips across the joists first.
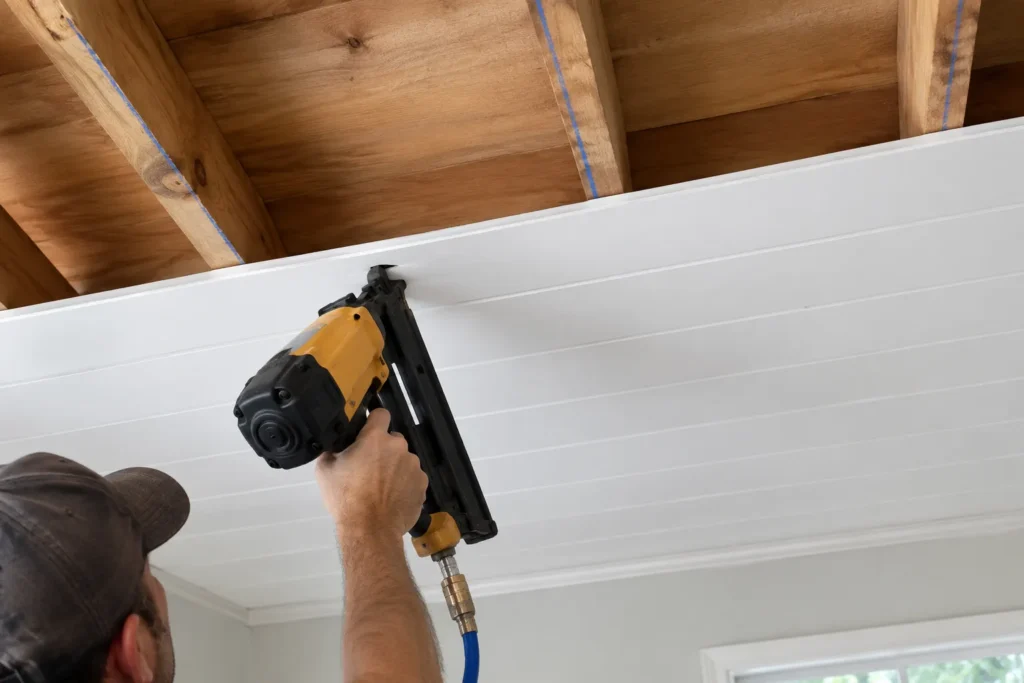
- Place the first board with construction adhesive, level it, and nail it into the joists. Angi suggests a 45-degree angle for the nail gun, which keeps boards from shifting. A 16-gauge nailer and 2-inch finish nails are typical.
- Make openings for lights and vents. A hole cutter handles can lights, while a jigsaw or multi-tool handles vents.
- Rip the last board to fit, since the final gap is rarely a full board width.
- Fill nail holes on painted ceilings, then caulk, sand, and paint. An extension pole makes rolling easier.
The electrical detail many guides skip
After the boards go up, an existing electrical box can end up recessed behind the wood. Section 314.20 of the National Electrical Code requires boxes in combustible surfaces like wood to sit flush or project slightly. A trade article on the code explains that a listed box extender solves this. Light fixtures and ceiling fans are where the issue appears most. Because local codes differ, check with your building department, since some areas require permits or licensed electricians for electrical work.
Also leave garage ceilings alone where they separate the garage from living space. Building codes generally treat that drywall layer as a fire barrier, so cover it instead of replacing it.
Check older and popcorn ceilings first
Shiplap is a popular way to cover popcorn ceilings, and it often works well. Still, if your home predates the mid-1980s, test the texture first. The EPA’s asbestos guidance explains that textured paint and patching compounds may contain asbestos, and disturbing them can release fibers. A careful sample sent to an accredited lab gives you a clear answer.
Covering is a recognized way to manage asbestos-containing material. Nailing through the texture, however, disturbs it. If a test comes back positive, talk with an abatement professional before you fasten anything.
Should you DIY or hire a pro?
DIY makes sense when you’re comfortable with a miter saw and nail gun, have a helper, and the ceiling is flat and rectangular. The savings are real, since Angi’s $350 to $1,000 range sits well below typical professional pricing.
Pros are the better call for vaulted ceilings, attics, rooms with many beams or soffits, and any job involving electrical changes. Bob Vila suggests asking about licensing, insurance, and experience with shiplap ceilings. In addition, request a written quote and ask about a warranty.
Still comparing ceiling styles? See our guides to beadboard ceilings and tongue and groove ceilings, or browse shiplap tile bathroom ideas for a similar look on bathroom walls.
When a shiplap ceiling isn’t the right choice
Skip or rethink the project if the current ceiling has active leaks or water damage. Low ceilings are another concern, because the boards take up height. Damp rooms call for sealed boards or PVC. Finally, if you expect to open the ceiling often for wiring or plumbing, drywall is easier to access than nailed-up wood.
FAQ
Is a shiplap ceiling a good idea?
It can be, especially for adding character and covering flaws. Bob Vila describes it as a way to add charm to an overlooked surface, although overhead installation is harder than on walls.
Which direction should shiplap run on a ceiling?
Perpendicular to the joists is simplest, because each board can be nailed into them. For parallel runs, add furring strips first.
Can you put shiplap over a popcorn ceiling?
Often, yes, and many people do it to avoid scraping. In homes from before the mid-1980s, however, test for asbestos first, since nailing through the texture can disturb it.
Does a shiplap ceiling make a room look smaller?
It can, if you choose a dark stain in a small, dim room. The boards also reduce ceiling height slightly. Light colors and good lighting keep a room feeling open.
Can I use shiplap on a bathroom ceiling?
Yes, with care. Angi recommends avoiding areas that get frequent water, such as inside a shower, and sealing the boards. PVC planks are a lower-risk option in humid rooms.
What’s cheaper, shiplap or drywall for a ceiling?
Drywall is usually cheaper per square foot in materials, since one sheet covers far more area than a plank. Bob Vila calls it typically the cheapest ceiling type. Shiplap can come out even when a smooth, high-grade drywall finish would be expensive.
How long does it take to install a shiplap ceiling?
Angi estimates about two days for a DIY room, split between installation and finishing. Larger rooms, beams, and fixtures add time.
Sources & References
- Bob Vila: How Much Does a Shiplap Ceiling Cost to Install? (cost ranges citing Angi and HomeAdvisor; last updated January 2024)
- Angi: How to Install a Shiplap Ceiling (DIY steps, tools, and cost range)
- EPA: Asbestos
- CPSC: Asbestos in the Home (archived copy)
- Electrical Construction & Maintenance: What’s Wrong Here? A Matter of Depth (NEC 314.20 and wood paneling)
- Stikwood: How Much Does Shiplap Cost? (supplier estimate, used only as a cross-check because the company sells a competing product)