

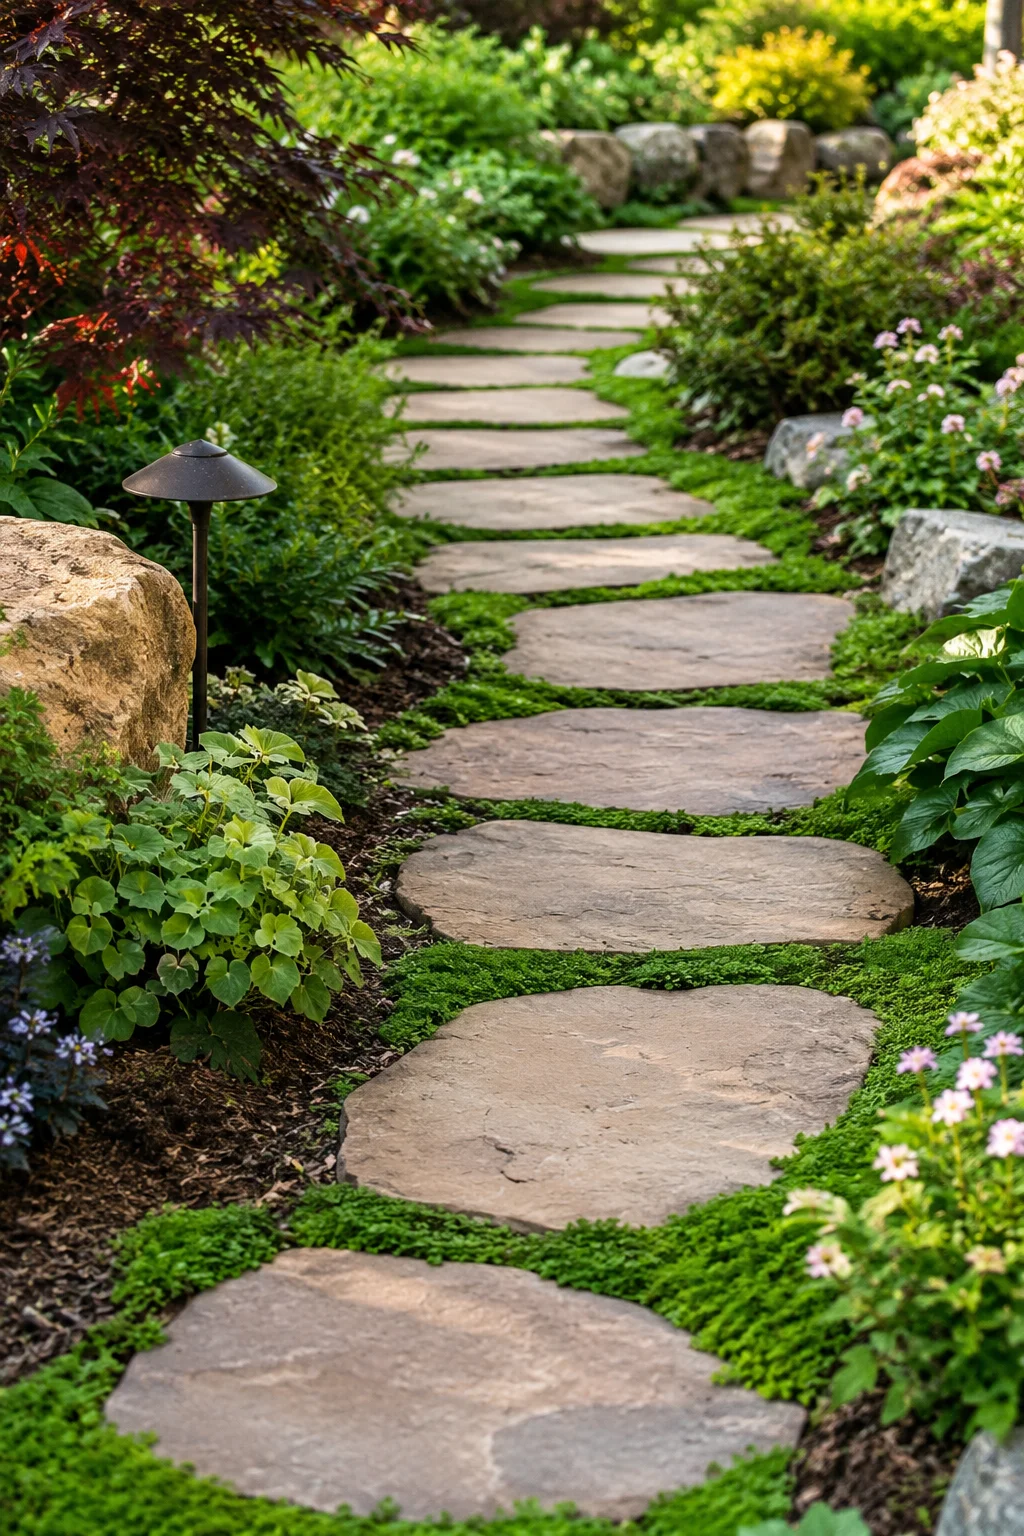
A stepping stone path does something a solid walkway can’t. It lets grass, moss, or ground cover grow right between the stones. That gap softens the whole look of a yard. It also costs less than a poured or paved path, and it drains rainwater far better too.
However, not every stepping stone works the same way. Material, spacing, and base prep all affect how long your path lasts. This guide covers real costs, spacing rules, and design ideas so you can plan a path that actually holds up.
What Are Stepping Stones, Exactly?
Stepping stones are individual flat pads set into the ground at walking intervals. Unlike a continuous paver or concrete path, they leave visible gaps between each stone. Those gaps can hold grass, gravel, mulch, or nothing at all.
This gapped design gives stepping stones a few real advantages. Rainwater soaks into the ground between stones instead of running off. Installation also skips much of the heavy digging a full paved path requires. Because of this, stepping stones remain one of the most budget-friendly and DIY-friendly path options available.
Types of Stepping Stones
Several materials dominate the stepping stone market, and each one brings a different look, price, and lifespan.
Concrete stepping stones. These cast, uniform pads run about $3 to $8 each. They’re the most affordable option and come in a wide range of shapes, from plain rounds to decorative textured designs. Expect a good, though not premium, lifespan.
Tumbled concrete pavers. Slightly rougher in texture than standard concrete, these run $2 to $5 each. Their weathered look fits rustic or cottage-style gardens especially well.
Natural bluestone. Dense, slip-resistant, and genuinely premium in appearance, bluestone runs $12 to $25 per stone. It holds up excellently over time, making it a strong pick for high-traffic paths.
Natural limestone. Warmer in tone than bluestone, limestone runs $8 to $18 per stone. It’s a bit softer than bluestone, so it can wear faster in freeze-thaw climates.
Natural slate. Slate delivers a genuinely attractive, layered look for $10 to $20 per stone. It can turn slippery when wet, though, so it’s worth pairing with a textured or honed finish in high-traffic or shaded areas.
Flagstone. Irregular, natural, and widely available, flagstone runs $6 to $15 per stone or square foot depending on the supplier. It requires more custom cutting and fitting than uniform concrete pads, but the payoff is a genuinely one-of-a-kind path.
Fieldstone. Random-sized and rustic, fieldstone typically runs $5 to $12 per square foot. It suits informal garden paths especially well.
Wood rounds. Cut from tree trunks, wood rounds cost just $2 to $5 each. They create a beautiful woodland look, but they rot within three to five years, so treat this as a shorter-term or replaceable option rather than a permanent path.
How Much Does a Stepping Stone Path Cost?
Total project cost depends heavily on path length, material choice, and whether you hire a professional or install it yourself.
- Budget DIY path: Using basic concrete rounds and doing the labor yourself, a 20-foot path can often come in under $100 to $150 in materials.
- Mid-range natural stone path: Flagstone or fieldstone, installed as a DIY project, typically runs $3 to $15 per square foot in material costs alone.
- Premium natural stone with professional installation: Bluestone or granite, professionally installed, can run $15 to $35 per square foot once labor is included.
- Full project example: A 100-square-foot path using natural stone and professional labor has landed in the $2,400 to $5,600 range in recent project estimates, while the same footprint using budget concrete pavers and DIY labor can come in closer to $600 to $1,200.
Buying stones directly from a stone yard or landscape supplier, rather than a small retail garden center, often saves a meaningful amount on larger projects. It’s worth calling around before committing to your first quote.
Spacing: Getting the Stride Right
Spacing makes or breaks how comfortable a path actually feels to walk. Get it wrong, and every trip down the path turns into an awkward shuffle or an uncomfortable stretch.
Most professionals recommend setting stones about 24 inches on center for a natural, comfortable adult stride. That means measuring from the center of one stone to the center of the next, not the gap between their edges. For paths used by kids or older adults, tightening that spacing to 18 inches often feels more comfortable and safer.
To calculate how many stones you need, take your path length in inches, divide by your chosen spacing, then add one. A 20-foot path at 24-inch spacing needs roughly 11 stones. The same path at 18-inch spacing needs about 14. Add another 10 percent for waste, and a bit more if your path curves rather than runs straight.
Before you dig anything, lay your stones directly on the grass and walk the path a few times. Adjust the spacing until it genuinely feels natural, then mark each spot before you start excavating.
How to Install Stepping Stones the Right Way
Getting the base right determines whether your path lasts for decades or starts wobbling within a year.
1. Plan your layout first. Lay stones on the existing ground and walk the path repeatedly. Trace each stone’s outline with spray paint or chalk once the spacing feels right.
2. Call before you dig. Always have underground utilities marked before excavating, even for a shallow stepping stone path.
3. Excavate each stone location. Dig 5 to 7 inches deep, and make each hole a bit wider than the stone itself. That extra room makes leveling much easier later.
4. Add a compacted gravel base. Pour in 2 to 4 inches of crushed gravel, then tamp it firm. This layer handles drainage and resists frost heave far better than bare soil.
5. Add a thin sand layer. Spread about 1 to 1.5 inches of coarse leveling sand on top of the gravel.
6. Set and level each stone. Use a rubber mallet to seat the stone, then check it with a level in both directions. The stone’s top should sit slightly below the surrounding grade, about a quarter to half an inch, so mower blades and snow shovels glide over it instead of catching an edge.
7. Backfill the gaps. Depending on your look, fill the spaces between stones with topsoil and grass seed, decorative gravel, or polymeric sand.
Regional Considerations Across the U.S.
Climate genuinely affects both material choice and installation depth.
Northern and cold climates (New England, Upper Midwest, Rocky Mountain states): Frost heave is a real, recurring issue here. A properly compacted gravel base becomes even more critical, and homeowners should expect to re-level a few stones each spring after the ground thaws.
Southeast and Gulf Coast: Humidity and shade can encourage moss growth between stones, which some homeowners love for the aesthetic and others find slippery. Slate and smooth natural stone need extra caution in consistently damp, shaded spots.
Southwest and arid regions: Frost heave isn’t much of a concern here, but heavy seasonal rain events can wash out loose gravel joints, so solid edging matters more than deep base prep.
Pacific Northwest: Persistent moisture makes well-draining base material essential, and slip-resistant stone finishes are worth the extra cost given how often paths stay damp.
If you’re comparing stepping stones against other permeable path materials for your yard, our guide to decomposed granite covers another budget-friendly, water-permeable option worth weighing before you commit to a final design.
For additional guidance on siting a path thoughtfully within your broader landscape, University of Florida’s IFAS Extension program offers practical, research-backed tips on drainage and path placement that apply well beyond Florida’s borders.
Design Ideas Worth Considering
Stepping stones adapt easily to a wide range of garden styles.
Grass-inlaid stones for a soft, natural look. Setting stones directly into an existing lawn keeps the path low-profile and blends it seamlessly into the yard.
Gravel-set paths for better drainage. Pairing stepping stones with a gravel surround instead of grass adds visual contrast while improving drainage in wetter yards.
Curved paths for a relaxed feel. A gently curving stepping stone path through a garden bed feels more like a stroll than a direct route, which works especially well in larger yards.
Mixed materials for budget flexibility. Combining stepping stones with brick edging or a gravel base lets you stretch a tighter budget while still achieving a polished, intentional look.
Frequently Asked Questions
How far apart should stepping stones be spaced? Most professionals recommend about 24 inches on center for a comfortable adult stride, with 18 inches often working better for children or older adults.
What is the cheapest stepping stone material? Concrete stepping stones and tumbled concrete pavers are the most affordable options, typically running $2 to $8 per stone.
Do stepping stones need a gravel base? Yes. A compacted gravel base, usually 2 to 4 inches deep, handles drainage and significantly reduces the risk of stones sinking or shifting from frost heave.
How long do stepping stones last? Most natural stone and concrete stepping stones last 15 to 25 years with proper base preparation. Wood rounds are a notable exception, typically lasting only 3 to 5 years before rotting.
Can I install stepping stones myself? Yes, stepping stones rank among the more DIY-friendly path options. Careful base preparation, correct spacing, and proper leveling are the main skills required.
What causes stepping stones to sink or wobble over time? Inadequate base compaction is the most common cause. Skipping the gravel and sand layers, or failing to compact them thoroughly, allows stones to settle unevenly under foot traffic and seasonal freeze-thaw cycles.
Is natural stone or concrete better for a stepping stone path? It depends on your budget and priorities. Concrete costs less and offers more uniform shapes, while natural stone delivers a more premium, one-of-a-kind look at a higher price point.
Should I put grass or gravel between stepping stones? Grass creates a softer, more blended look and suits lawns with regular mowing access. Gravel improves drainage and requires less ongoing maintenance, making it a better fit for garden beds or wetter climates.
Final Thoughts
A stepping stone path delivers real function and genuine design flexibility at a fraction of the cost of a poured or paved walkway. The real key to long-term success comes down to two things: getting your spacing right for a natural stride, and never skipping proper base preparation underneath each stone. Get those two details right, choose a material suited to your climate and budget, and your stepping stone path should stay level, functional, and good-looking for many years to come.