

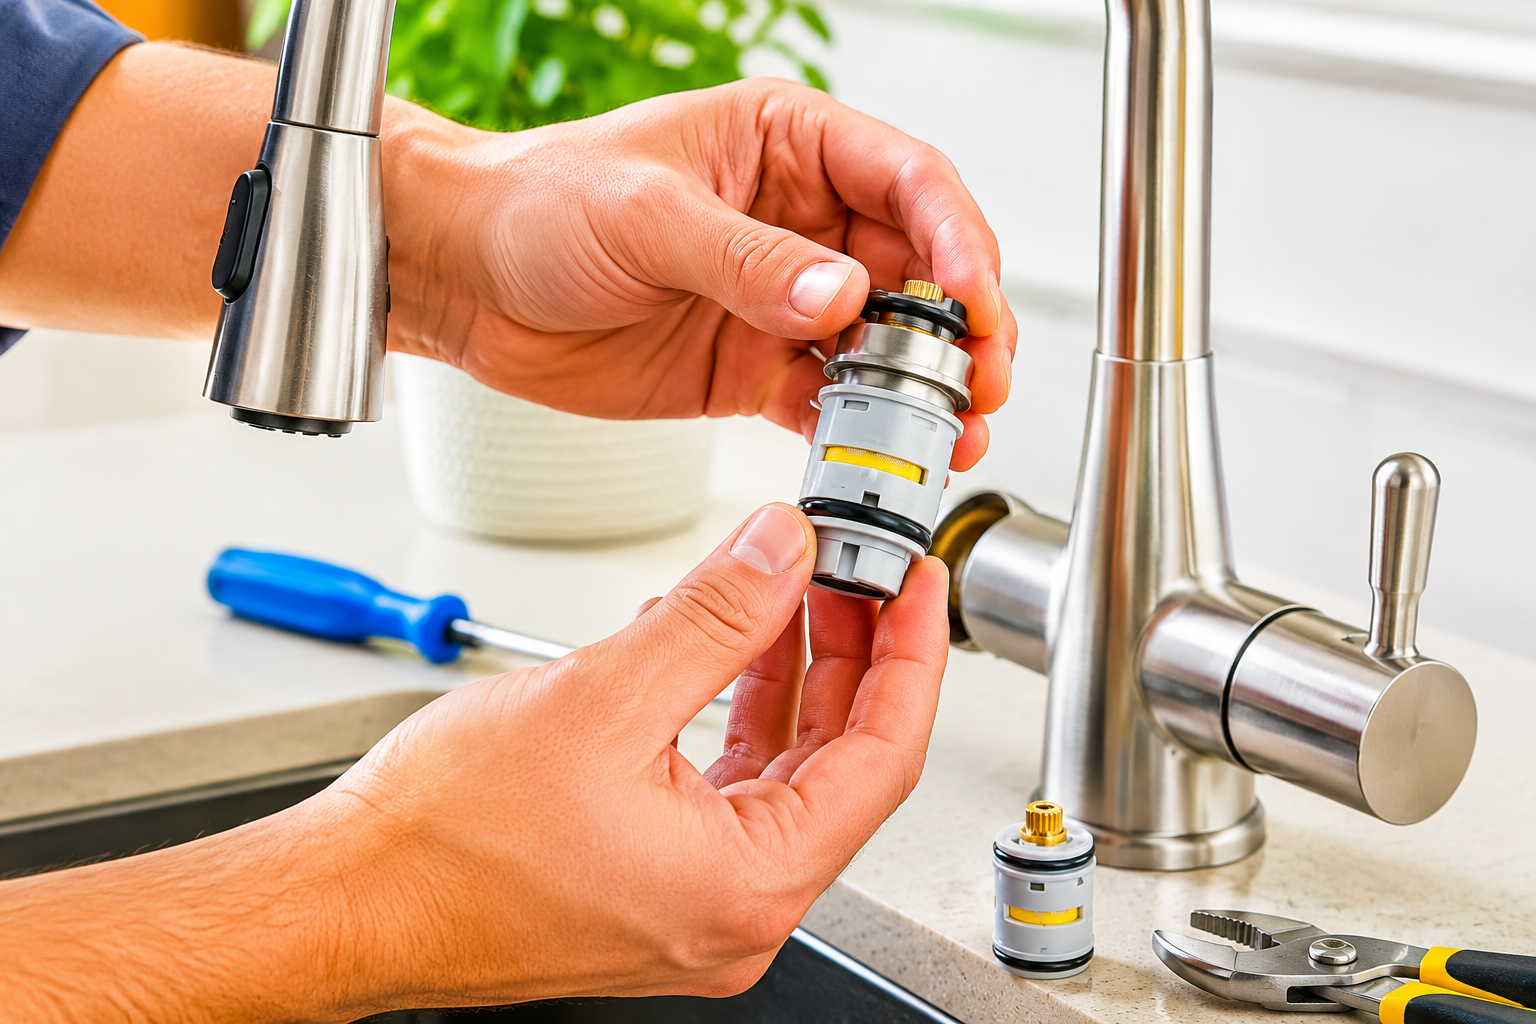
A dripping faucet is more than an annoying sound at 2 a.m. It’s also money going straight down the drain. A single leaky faucet can waste more than 3,000 gallons of water a year. That adds up on your utility bill, whether you live in Phoenix or Portland. The good news is simple. In most cases, you don’t need a new faucet or a plumber’s visit. You just need a new cartridge. And replacing one is one of the easiest repairs in all of plumbing.
I’ve replaced cartridges in kitchens, bathrooms, and even outdoor hose bibs. The process hasn’t changed much over the years. However, finding the right tools and part numbers has gotten easier. Manufacturer support and video resources have improved a lot. This guide walks you through exactly how to replace a faucet cartridge in 2026. It follows the same steps a professional plumber would use. So you can fix the drip yourself and keep that plumber’s fee in your pocket.
What Is a Faucet Cartridge, and Why Does It Fail?
A cartridge is the small internal part that controls water flow and temperature inside a single-handle faucet. Every time you turn your faucet on, off, or adjust the temperature, the cartridge does the work. It moves constantly and sits directly in the path of water. Because of that, it eventually wears down.
Over time, mineral deposits and daily use cause the O-rings and seals to crack or stiffen. Once that happens, water sneaks past the seals. It drips out of the spout, even when the handle is fully closed. Homeowners in hard-water regions, like parts of Texas, Arizona, and the Midwest, tend to see this happen sooner. Homes in areas with naturally softer water, like the Pacific Northwest, often go longer between repairs.
Common warning signs that your cartridge needs replacing include:
- A slow, steady drip from the spout, even when the handle is off
- A handle that feels loose, stiff, or hard to turn
- Water temperature that fluctuates unexpectedly
- Reduced water pressure from one faucet, while others work fine
- A squeaking or grinding sound when you turn the handle
If you notice two or more of these signs, your cartridge is probably the problem. Not the entire faucet.
Do You Really Need a Plumber for This?
Not necessarily. Based on 2026 pricing data from national home-repair cost trackers, a professional cartridge replacement usually costs $270 to $325 once labor is included. The cartridge itself is a small part of that bill. It typically runs $10 to $100, depending on the brand and how complex the valve is. A DIY replacement is much cheaper. Most people spend $40 to $120 total, tools and part included. That’s a real difference for a job you can finish in under an hour on a Saturday morning.
Still, there are times when calling a professional makes sense. If your cartridge has fused to the valve body from years of mineral buildup, get help. The same goes for older faucets with hard-to-find parts. A plumber’s experience can prevent you from cracking the valve housing. Otherwise, this project is well within reach. Even if you’ve never picked up a basin wrench before.
Tools and Materials You’ll Need
Gather everything before you start. That way, you’re not dripping water on the floor while running to the hardware store. Here’s what you’ll typically need:
- Adjustable wrench or basin wrench
- Flathead and Phillips screwdrivers
- Allen wrench set (many handles hide a hex screw under a cap)
- Needle-nose pliers
- Cartridge puller (brand-specific, sometimes included with the new part)
- Replacement cartridge that matches your faucet’s brand and model
- Plumber’s grease or silicone-based lubricant
- Vinegar, for soaking mineral deposits
- A small towel or bucket to catch drips
- Channel-lock pliers
One important note. Cartridges are almost never interchangeable across brands. A Moen cartridge won’t fit a Delta faucet. A Kohler part won’t work in a Price Pfister valve. Before buying anything, remove your old cartridge. Or take a photo of your faucet’s brand markings so you can match the exact part number.
Step-by-Step: How to Replace a Faucet Cartridge
Step 1: Shut Off the Water Supply
Reach under the sink. Turn the shut-off valves clockwise until they stop. If you’re working on a tub or shower faucet without accessible valves, shut off the main water supply instead. Once the valves are closed, open the faucet handle. This releases any remaining pressure and confirms the water is fully off.
Step 2: Remove the Faucet Handle
Most single-handle faucets hide a small screw beneath a decorative cap. Pop the cap off carefully with a flathead screwdriver. Then remove the screw underneath, using an Allen wrench or Phillips screwdriver, depending on the model. Once the screw is out, the handle should lift straight off. If it feels stuck, wiggle it gently from side to side. Don’t force it upward, since that can crack the plastic housing.
Step 3: Take Off the Retaining Nut or Clip
Underneath the handle, you’ll usually find a retaining nut or a metal clip. It’s what holds the cartridge in place. Unscrew the nut with pliers or an adjustable wrench. If your faucet uses a clip instead, gently pry it out with needle-nose pliers. Keep this piece somewhere visible. It’s easy to lose and surprisingly annoying to replace on its own.
Step 4: Pull Out the Old Cartridge
This is usually the trickiest part of the job. Minerals and corrosion often cause the cartridge to stick. Grip it firmly with pliers and pull straight up, wiggling slightly as you go. If it won’t budge, use a brand-specific cartridge puller tool. It makes removal much easier and prevents you from snapping the stem. If the cartridge breaks during removal, don’t panic. It usually just means the valve needs a light cleaning, or in rare cases, professional attention.
Step 5: Clean the Valve Body
Before installing the new part, inspect and clean the inside of the valve housing. Mineral deposits and old plumber’s grease tend to build up here. Wipe it down with a damp cloth. If needed, use a vinegar-soaked rag to dissolve calcium buildup. A clean valve body helps the new cartridge seat properly. It also extends the cartridge’s lifespan.
Step 6: Insert the New Cartridge
Apply a thin layer of plumber’s grease to the O-rings on the new cartridge. This helps it slide in smoothly and reduces future friction. Line up the notches or tabs with the matching slots in the valve body. This step matters, because it determines whether hot and cold end up on the correct sides. Push the cartridge down firmly until it’s fully seated.
Step 7: Reassemble the Faucet
Once the cartridge is in place, replace the retaining nut or clip. Then reattach the handle and secure the screw you removed earlier. Snap the decorative cap back into position. At this stage, don’t overtighten anything. Too much force can crack plastic components or strip the threads.
Step 8: Turn the Water Back On and Test
Slowly turn the shut-off valves counterclockwise to restore water flow. Turn the faucet handle through its full range, hot to cold, on to off. Watch closely for leaks around the base or handle. Let it run for a minute or two. Some minor dripping right after installation is normal, since trapped air needs to work its way out. If everything looks dry and the water flows smoothly, you’re done.
Common Mistakes to Avoid
Even a simple repair can go sideways if you rush it. Keep these pitfalls in mind:
- Skipping the water shut-off check. Always test the handle after closing the valves. Confirm the water is truly off before disassembling anything.
- Forcing a stuck cartridge. Twisting or yanking too hard can crack the valve body. That turns a $20 fix into a $300 one.
- Buying the wrong cartridge. Match the brand and model number exactly. When possible, bring the old cartridge to the store for comparison.
- Forgetting plumber’s grease. Dry O-rings wear out faster. They also make future removal much harder.
- Overtightening the retaining nut. This can crack ceramic or plastic components, especially in older fixtures.
When to Call a Professional Instead
DIY repairs feel great, but they have limits. Call a licensed plumber if corrosion has spread beyond the cartridge into the valve body. Do the same if water is leaking from the wall behind a tub or shower faucet. If you’ve already replaced the same cartridge twice without solving the drip, it’s also time to call for help. Persistent leaks despite a fresh cartridge often point to a damaged valve seat. Sometimes they signal a larger water pressure issue. Both fall outside a basic cartridge swap.
It’s also worth checking your warranty before spending a dime. Major brands like Moen and Delta offer lifetime warranties on many cartridges. You might get a free replacement part shipped directly from the manufacturer. In that case, you’ll only cover your own labor and time.
A Quick Note on Water Conservation
Fixing a leaky faucet does more than save you money. It also supports water conservation efforts across the country. The EPA’s WaterSense program has long pointed out that household leaks, including dripping faucets, waste billions of gallons nationwide every year. Many U.S. regions, especially the Southwest, continue to face drought pressure. A quick cartridge swap is a small but meaningful way to cut unnecessary water waste at home. You can learn more about household leak-reduction strategies on the EPA WaterSense program page.
If you’re dealing with a slow drip that hasn’t quite reached cartridge-replacement territory, check out our guide on how to fix a leaky faucet. It covers simpler fixes, like O-ring replacement and aerator cleaning.
Frequently Asked Questions
How do I know if my faucet needs a new cartridge instead of a new faucet entirely? If the faucet body isn’t cracked, corroded, or leaking from the base, a cartridge replacement is usually the smarter choice. It’s also cheaper. Consider a full replacement only if you’ve already swapped the cartridge more than twice, the finish is worn through to bare metal, or the faucet is older than 15 years with hard-to-find parts.
How much does it cost to replace a faucet cartridge myself? A DIY cartridge replacement typically costs $40 to $120. That includes the part and any basic tools you don’t already own. The cartridge alone usually runs $10 to $100, depending on the brand. Premium brands like Moen and Delta cost more than generic alternatives.
How long does a faucet cartridge usually last? Most cartridges last 10 to 20 years. This depends heavily on the material and your local water quality. Brass and ceramic cartridges tend to hold up longer. Plastic versions may need replacing after just four or five years, especially in homes with hard water.
Can I use any cartridge as a replacement, or does it have to match my faucet brand? Cartridges are brand-specific. They’re usually not interchangeable, even if they look similar at first glance. Always match the exact brand and model number. Or bring your old cartridge to the hardware store to confirm compatibility.
What if the old cartridge won’t come out? Mineral buildup and corrosion are the usual culprits. Try soaking the area in vinegar for 15 to 20 minutes to loosen deposits. Then use a brand-specific cartridge puller tool. Avoid forcing it with pliers, since that can crack the valve housing.
Is it normal for a faucet to drip slightly right after replacing the cartridge? Yes, a little dripping right after reassembly is normal. Trapped air needs a moment to work its way out of the line. But if the leak continues after a few minutes, check that the cartridge is fully seated. Also confirm the retaining nut is properly tightened.
Do I need to turn off the water to the entire house to replace a faucet cartridge? Usually not. Most sinks have dedicated shut-off valves underneath, so you only need to close those. Tub and shower faucets sometimes lack accessible shut-off valves. In that case, you may need to close the home’s main water supply instead.
Are lifetime warranty cartridges really free to replace? Often, yes. Brands like Moen and Delta offer lifetime warranties on many cartridges. The manufacturer will often send a replacement part at no cost, once you provide proof of purchase or register your product. You’ll still need to handle installation yourself, or pay a plumber for labor.
Final Thoughts
Replacing a faucet cartridge isn’t glamorous work. But it’s one of those small home repairs that pays off right away. Once you’ve done it, you won’t dread a dripping faucet again. You’ll know it’s a 30-minute fix that costs less than dinner out. Keep your old cartridge’s brand and model number written down somewhere handy. That way, the next time a faucet starts dripping, you can walk into the hardware store, grab the right part, and fix it before your coffee gets cold.