

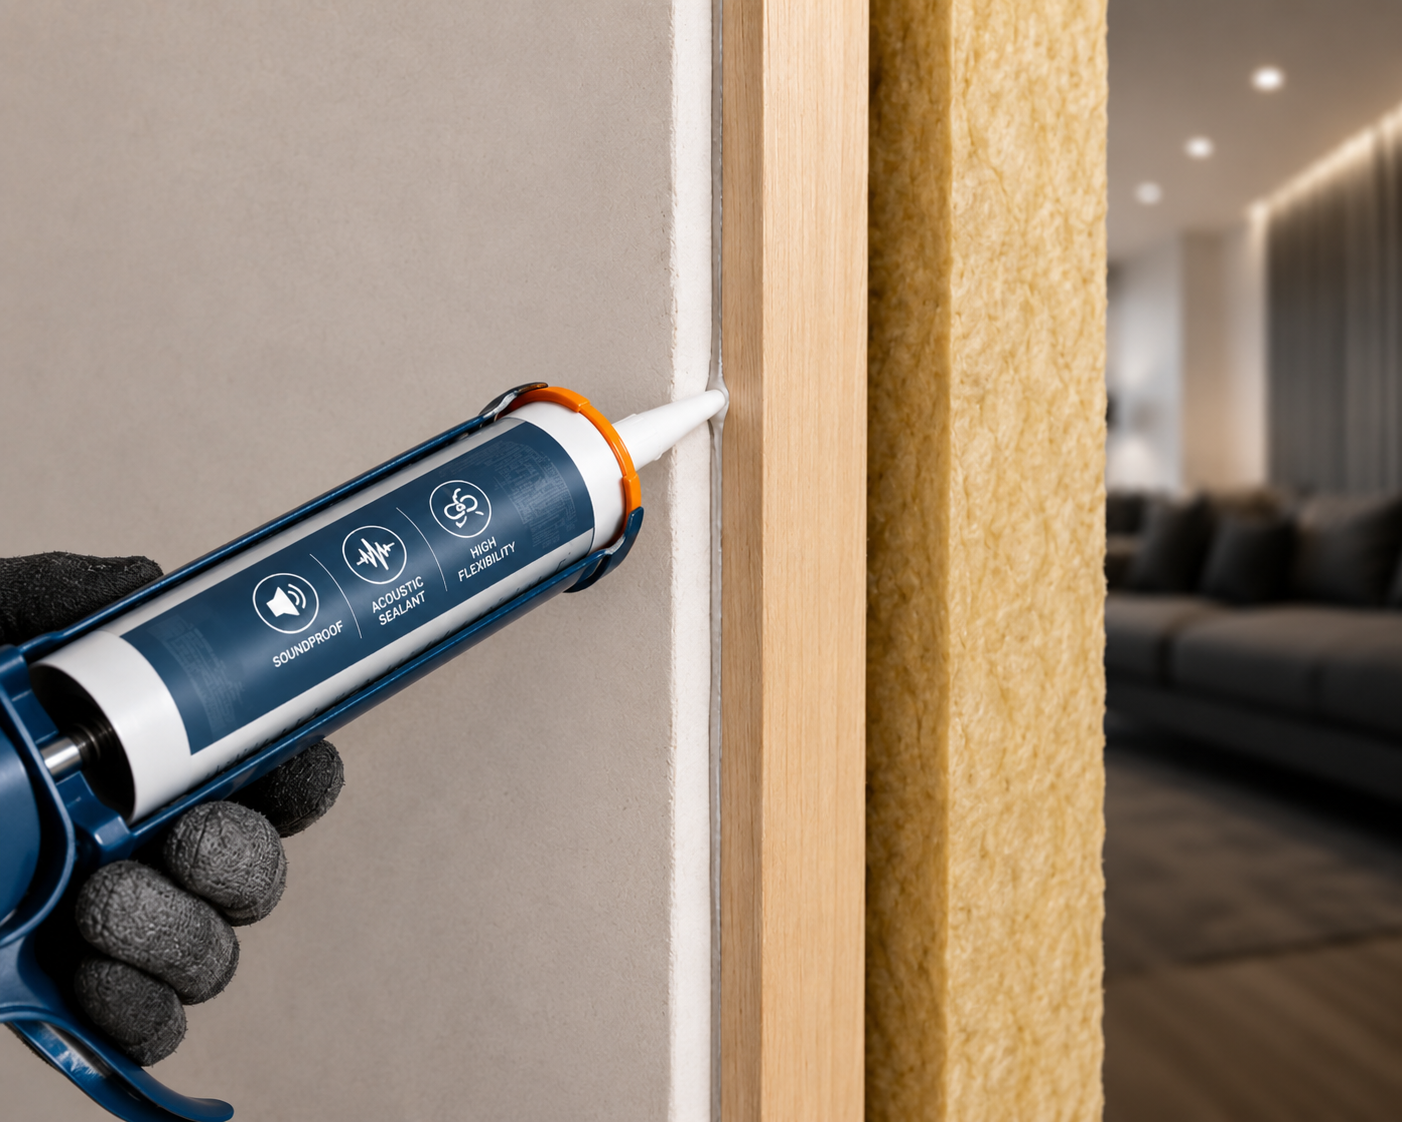
If you’ve spent money on drywall, insulation, or mass loaded vinyl and your room still isn’t quiet, there’s a good chance one small detail got overlooked. Acoustic caulk. It sounds like a minor finishing touch, but it’s often the difference between a room that actually blocks noise and one that just looks like it should.
This guide covers what acoustic caulk actually is, which options perform best in 2026, and exactly where and how to use it. Whether you’re finishing a home theater, a nursery, or a home office, getting this detail right matters more than most people expect.
What Is Acoustic Caulk, and Why Does It Matter?
Acoustic caulk, also called acoustical sealant, is a specialized sealant designed to stay permanently flexible after it cures. That flexibility is the whole point. Regular caulk hardens over time, then shrinks and cracks as your home naturally settles. Once it cracks, sound sneaks right back through the gap.
Here’s the core principle behind soundproofing: if air can pass through a gap, sound can too. Even a hairline crack around a window frame, an electrical outlet, or a baseboard can undo a surprising amount of your soundproofing work. That’s why acoustic caulk focuses specifically on sealing these small but critical gaps.
Most acoustic sealants are latex-based, non-flammable, and water-cleanable. Unlike standard silicone or acrylic caulk, they’re built to stretch and compress with a building’s natural movement for years, sometimes decades, without ever fully hardening.
Acoustic Caulk vs. Regular Caulk: What’s the Real Difference?
This is where a lot of DIYers get tripped up, so it’s worth breaking down clearly. Regular caulk is designed to bond and harden, which works fine for something like a bathtub seam. However, that same hardening process becomes a liability in a soundproofing project.
Acoustic caulk, on the other hand, is engineered to remain soft and rubbery indefinitely. It won’t crack under vibration, temperature swings, or normal home settling. Many acoustic sealants also carry a higher density, which helps create a mass barrier that resists airborne noise more effectively than a thin bead of standard caulk ever could.
There’s one more distinction worth knowing. Acoustic caulk and Green Glue Compound are not the same product. Compound goes between two layers of drywall to dampen vibration, while acoustic sealant is applied at the edges and penetrations to stop air leaks. Most serious soundproofing projects use both.
Best Acoustic Caulk Options for 2026
Several brands have earned strong reputations among contractors and serious DIYers this year. Here’s how the leading options compare.
Green Glue Noiseproofing Sealant remains the benchmark for professional-grade acoustic caulk. It’s water-based, UL-tested for fire and smoke performance, and stays rubbery indefinitely. Most tubes cover roughly 40 to 80 linear feet, and cleanup only requires soap and water.
Trademark Soundproofing (TMS) Acoustical Caulk offers similar permanently pliable performance at a more accessible price point. It’s UL-rated, largely odor-free, and dries to a firm, Play-Doh-like consistency that holds up well on vertical seams and ceiling joints.
OSI SC-175 is a favorite among contractors for its strong adhesion and reasonable cost per ounce. It performs well across drywall, wood, and concrete, making it a versatile pick for mixed-material projects.
Big Stretch Sashco Caulk stands out for its impressive elasticity, stretching more than 500% without tearing. It also dries clear, which makes it easy to spot any missed sections. That said, it’s not rated for prolonged water exposure, so keep it indoors.
Liquid Nails Acoustical Sealant offers a solid, budget-friendly option for straightforward interior projects. It’s easy to apply, cleans up with water, and holds its flexibility well over time, though some users note it may need a second pass on larger gaps.
For most homeowners, Green Glue or TMS will deliver the most reliable results. Contractors working across larger commercial spaces often lean toward OSI or Tremco-branded products for their code-tested performance.
Where You Actually Need to Apply Acoustic Caulk
Knowing where to apply acoustic caulk matters just as much as picking the right product. The goal is simple: seal every gap where sound could otherwise sneak through.
Start with the perimeter of any soundproofed wall, ceiling, or floor, since this is where the vast majority of sound leaks occur. Next, address electrical outlets and switch plates, which create small but surprisingly effective sound pathways if left unsealed. Window and door frames deserve attention too, along with any pipe or duct penetrations passing through a wall or ceiling.
Baseboards are another commonly missed spot. A gap behind a baseboard might look cosmetic, but it can quietly leak a meaningful amount of noise if it’s not sealed underneath.
How to Apply Acoustic Caulk the Right Way
Application isn’t complicated, but a few details make a big difference in the final result.
First, clean the surface thoroughly and make sure it’s dry before applying anything. Second, load your caulk gun and cut the nozzle tip at roughly a quarter-inch angle for a consistent bead. Third, run a steady, continuous bead along the gap, then smooth it with a putty knife or a gloved finger if needed.
Avoid overfilling the gap, since acoustic sealant works best as a thin, continuous barrier rather than a thick glob. Most products need 24 hours to a full week to cure completely, so plan your project timeline accordingly. Humid climates, like much of the Southeast, may extend curing time slightly, while drier regions such as the Southwest typically see faster results.
Understanding STC Ratings and Where Sealant Fits In
Sound Transmission Class, or STC, measures how effectively a wall or assembly blocks airborne noise. A typical, well-sealed residential wall usually falls between STC 37 and 39. Without proper sealing, that same wall can drop into the 28 to 32 range, a noticeable difference in real-world noise transfer.
Acoustic caulk plays a direct role in hitting these targets, since even a well-built wall assembly underperforms if its edges leak air. Building codes across the U.S. reference STC and related sound transmission standards for multi-family housing, and organizations like the Whole Building Design Guide, a resource maintained through the National Institute of Building Sciences, offer detailed technical guidance on sound control for walls and floor-ceiling assemblies.
If you’re working on a larger project, it’s worth pairing your acoustic caulk with other proven materials. Our guide to mass loaded vinyl for soundproofing covers how to layer these products together for the best overall results.
Common Mistakes to Avoid
A few recurring mistakes show up again and again in DIY soundproofing projects. First, using standard hardware store caulk instead of an actual acoustic sealant. It might seem like a shortcut, but it defeats the purpose almost entirely once it cracks.
Second, skipping smaller gaps like outlet boxes because they seem too minor to matter. In practice, these small leaks add up quickly. Third, applying too thin a bead, which fails to create a genuine air seal even if the product itself is high quality.
Finally, rushing the cure time. Disturbing a bead before it fully sets can compromise the seal, so patience really does pay off here.
Local Considerations Across the U.S.
Climate and regional building conditions can influence how acoustic caulk performs. Homes in humid regions, such as Florida or coastal Louisiana, may need slightly longer cure times and should prioritize mold-resistant, water-cleanable formulas. Meanwhile, drier climates like Arizona or Colorado typically see faster curing, though extreme temperature swings can still test a sealant’s flexibility over time.
Older homes across the Northeast and Midwest, many built before modern sealing standards existed, often have more significant gaps around window frames and baseboards. That makes a thorough inspection especially worthwhile before starting any soundproofing project in an older property.
Actionable Tips Before You Start Your Project
A few practical habits will make your project go smoother. First, buy slightly more sealant than you think you’ll need, since running out mid-project can leave visible seams once you resume. Second, test a small section first if you’re unfamiliar with a specific brand’s consistency and drying behavior.
It also helps to work in manageable sections rather than trying to seal an entire room in one sitting. Finally, keep a damp cloth nearby for quick cleanup, since most acoustic sealants are far easier to remove before they cure than after.
Frequently Asked Questions
What is acoustic caulk used for? Acoustic caulk seals gaps around walls, ceilings, floors, outlets, and window frames to prevent sound from leaking through. It stays flexible after curing, unlike regular caulk, which hardens and eventually cracks.
Is acoustic caulk the same as Green Glue Compound? No. Green Glue Compound is applied between two layers of drywall to dampen vibration, while acoustic sealant is used at edges and penetrations to create an airtight seal. Most soundproofing projects benefit from using both.
Can I use regular silicone caulk instead of acoustic caulk? It’s not recommended. Regular caulk hardens and eventually cracks, which allows sound to leak back through the gap. Acoustic caulk stays permanently pliable, so it maintains its seal for years.
How long does acoustic caulk take to cure? Most products take anywhere from 24 hours to a full week to cure completely, depending on the brand and your local humidity levels. Avoid disturbing the bead during this period for the best results.
Does acoustic caulk actually reduce noise significantly? Yes, when used correctly. Sealing gaps with acoustic caulk can help a wall reach its full STC rating potential, sometimes improving real-world sound blocking by several points compared to an unsealed assembly.
Where should I apply acoustic caulk in a room? Focus on wall, ceiling, and floor perimeters, electrical outlets, window and door frames, and any pipe or duct penetrations. These are the most common points where sound leaks through.
Is acoustic caulk paintable once it dries? Most acoustic sealants, including popular options like Green Glue and TMS Acoustical Caulk, are paintable once fully cured, making it easy to blend the seal into your finished wall or ceiling.
Which acoustic caulk brand is best for beginners? Green Glue Noiseproofing Sealant and TMS Acoustical Caulk are both considered beginner-friendly, thanks to their easy application, water cleanup, and reliable long-term flexibility.
Product and performance information in this article reflects publicly available manufacturer data and industry reporting as of 2026. Always check current product specifications and local building codes before starting a soundproofing project.
[…] If you’re planning trim, siding, or window work as part of a broader remodel or refresh, it’s worth reviewing which materials on your home actually need this kind of maintenance seal versus a full replacement — that’s covered in more detail in Acoustic Caulk for Soundproofing 2026. […]