

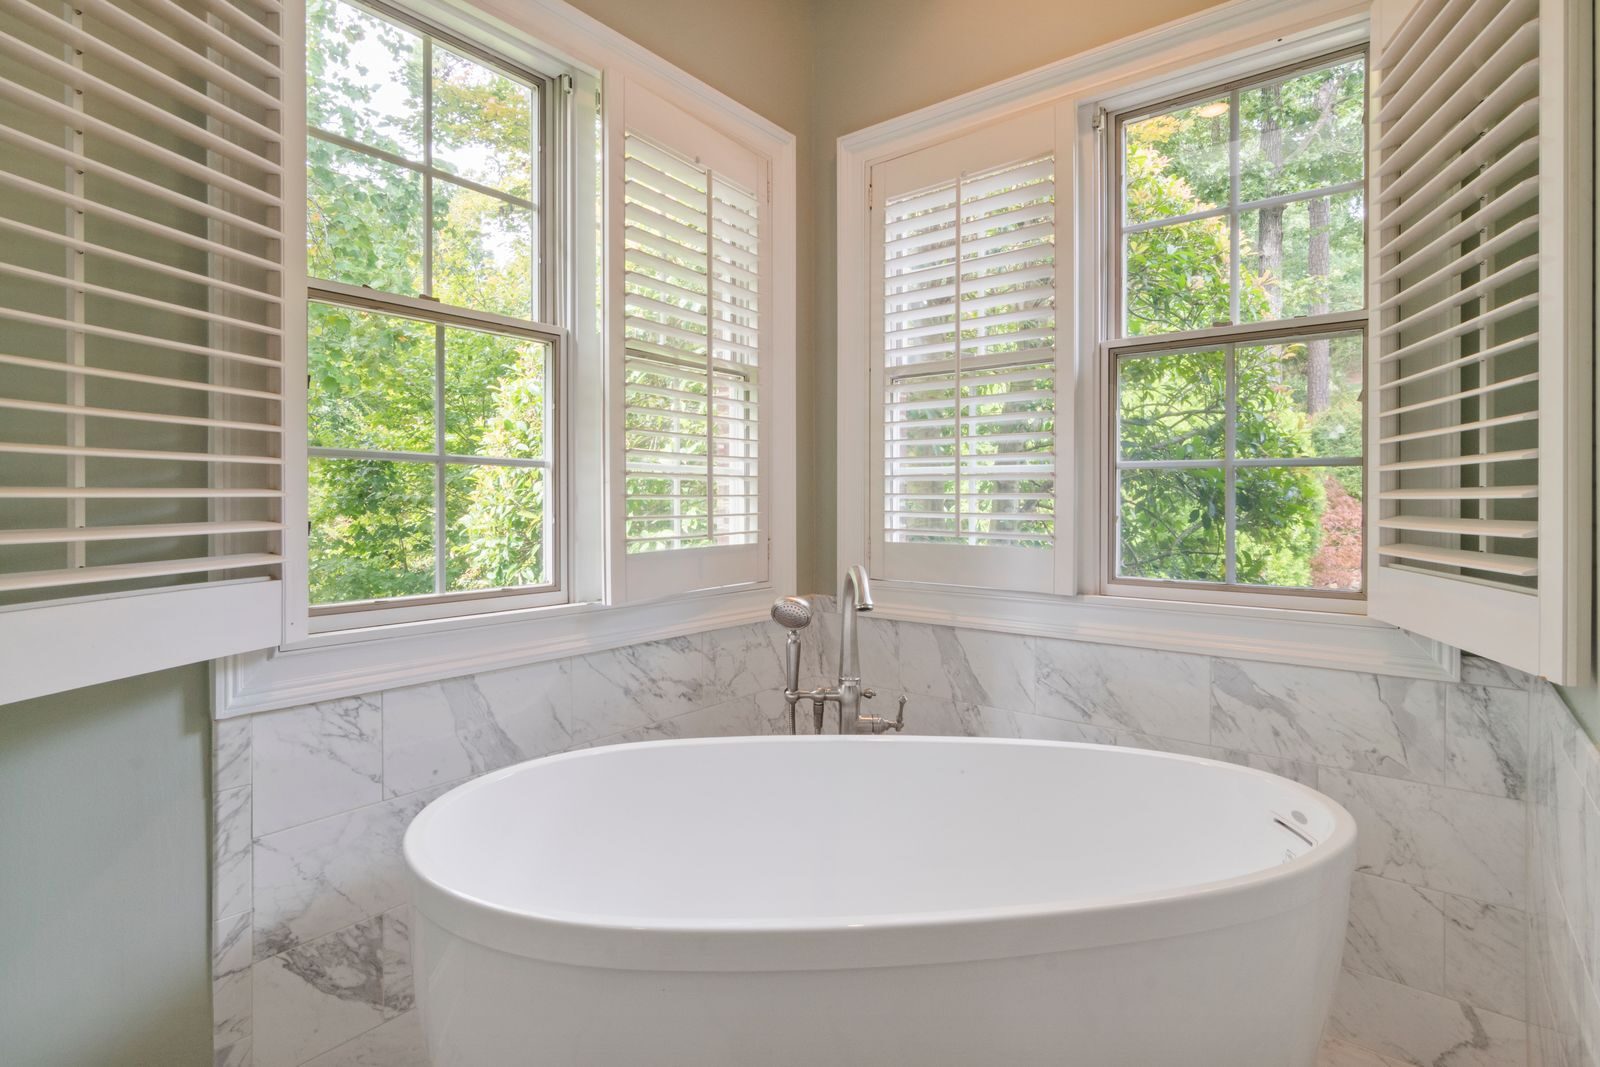
If your bathroom is on the smaller side, an alcove bathtub is probably your smartest option. It tucks neatly between three walls. The rest of the room stays open. It also works with almost any plumbing layout that already exists. I have helped friends and family plan several of these installs over the years. The same lesson keeps coming up: getting the tub right matters, but getting the installation right matters even more. This guide walks through exactly what to expect in 2026. That includes current tub options, step-by-step installation basics, code considerations, and what changes depending on where you live in the US.
What Is an Alcove Bathtub, Exactly?
An alcove bathtub sits inside a three-wall enclosure. One side faces the room and is fully finished. The other three sides press against the studs and stay unfinished. This is the classic tub-shower combo you probably grew up with. It remains the standard in most American homes today. Because it does not require moving plumbing in most replacement projects, it is also the least disruptive tub style to install. That is exactly why it stays so popular for small bathroom remodels.
Compared to freestanding or corner tubs, an alcove model saves real floor space. The surrounding walls do double duty here. They provide structural support, and they protect against splashes. That efficiency is precisely why alcove tubs remain the go-to choice whenever square footage is tight.
Why Alcove Tubs Still Dominate Small Bathrooms in 2026
Interior designers have noted a real shift back toward alcove tubs this year. Even in higher-end remodels, this style is winning out. Many designers now build tile, stone, or wood paneling around the alcove. This turns it into an intentional design feature instead of an afterthought. That trend matters for small bathrooms specifically. You no longer have to sacrifice style to save space.
Beyond aesthetics, alcove tubs also make practical sense. They pair naturally with a shower system. Maybe your household needs a bathing option for kids or pets. Maybe you also need a quick daily shower for yourself. One alcove unit handles both jobs without eating up extra square footage.
Choosing the Right Size for a Small Bathroom
Standard alcove tubs run around 60 inches long. Width typically falls between 28 and 32 inches. Compact models built for tight bathrooms can go as short as 42 to 48 inches. Depth matters just as much as length here. Honestly, it often matters more for comfort. A shorter tub with a deeper basin, somewhere in the 18 to 20 inch range, often feels better than a longer, shallow tub. You can actually submerge your shoulders instead of just your legs.
Before buying anything, measure your existing alcove opening carefully. Note where the drain currently sits, since matching drain placement saves you from expensive plumbing changes. If you are working with a genuinely cramped layout, look at compact soaking tubs built for small footprints. Do not simply buy the smallest standard-size tub you can find. The engineering behind compact models is different, and it is generally more comfortable.
Best Materials for Alcove Tubs Right Now
Acrylic reinforced with fiberglass remains the most popular choice for 2026 installations, and for good reason. It is lightweight, which makes DIY installation realistic. It retains heat well during a long soak and it also resists chipping better than older fiberglass-only tubs. Most quality acrylic tubs run between 400 and 800 dollars. With reasonable care, they last 10 to 15 years. Just avoid abrasive cleaners, since they dull the finish over time.
Cast iron is still available, and it remains the gold standard for durability. It can last several decades without much noticeable wear. However, it is dramatically heavier. Moving it often requires two or three installers just to get it into place. It typically needs professional installation because of that weight. Steel enamel splits the difference. It offers solid wear resistance at a lower price than cast iron, though it does not retain heat nearly as well. That matters if you enjoy long baths.
Solid surface and stone resin tubs have gained traction recently too. Many homeowners are chasing a more premium look. These options command higher prices, though. Similar to cast iron, they usually require professional installation due to their weight.
Step-by-Step Alcove Bathtub Installation
1. Remove the old tub carefully. Shut off the water supply first. Then disconnect the drain and overflow assembly. Cut away any surrounding tile or wall material that blocks removal. Older cast iron tubs sometimes need to be broken apart with a sledgehammer if they will not come out intact. Protect the surrounding floor and walls before you start this step.
2. Inspect and prep the subfloor and framing. This step gets skipped far too often. It is usually the reason tubs flex, crack, or leak within a few years. Check for water damage around the old plumbing connections. Replace any soft subflooring you find. Confirm the wall studs are square and properly spaced for your new tub’s dimensions.
3. Set the drain and overflow assembly. Dry-fit the tub first. Confirm the drain lines up correctly with your existing plumbing before applying any plumber’s putty or sealant. If your new tub uses a different drain location than the old one, call in a licensed plumber to reroute the drain line.
4. Add a mortar bed for acrylic tubs. Most acrylic alcove tubs need a thin mortar bed beneath the tub floor. This adds extra support and eliminates flexing under weight. Skipping this step is one of the most common installation mistakes. It often leads to cracking within just a year or two of daily use.
5. Set the tub and check for level. Slide the tub into the alcove. Check level in both directions before securing it in place. Nail the flanges to the studs through the tub’s integral flange to keep it from shifting later. Follow your specific manufacturer’s fastening instructions closely, since methods vary between brands.
6. Connect the plumbing and test for leaks. Reconnect the drain, overflow, and supply lines. Fill the tub partway. Check every connection point for leaks before moving on to wall finishing.
7. Finish the surrounding walls. Install cement backer board around the tub before tiling. Alternatively, attach a prefabricated tub surround for a faster finish. Always caulk the seam between the tub and the surrounding wall with a flexible, waterproof silicone caulk. Rigid grout alone will crack as the house settles.
A straightforward like-for-like replacement typically takes a single day for an experienced installer. A first-time DIYer should realistically budget a full weekend instead. Anything involving relocated plumbing or subfloor repair can stretch to two or three days.
What Installation Actually Costs in 2026
Nationally, homeowners are generally spending between 300 and 800 dollars on labor alone. That figure sits on top of the cost of the tub itself. Simple replacements that keep the same footprint and drain location land toward the lower end of that range. New installations that require plumbing modifications or subfloor repair push costs toward the higher end. Adding a concrete or mortar support bed typically adds another 100 dollars. That is money well spent, given how often it prevents future cracking.
Regional labor rates shift this math quite a bit. Contractors in major metro areas like New York, San Francisco, and Boston often charge more than the national average. Installation costs in much of the Midwest and South tend to run closer to the lower end of the range instead. If you are getting quotes, always ask whether the estimate includes disposal of your old tub. That is a common add-on fee that catches homeowners off guard.
Building Codes and Safety Requirements to Know
Most US jurisdictions follow some version of the International Residential Code. This code requires anti-scald valves on tub and shower plumbing. These valves prevent sudden temperature spikes from injuring bathers. If you are replacing old plumbing as part of your project, this is a good moment to upgrade. Consider a pressure-balancing or thermostatic valve, even if your local code does not strictly require it for a simple tub swap.
Local code requirements do vary quite a bit. Always check with your city or county building department before starting. This matters especially if your project involves moving the drain or supply lines. Coastal states prone to hurricanes sometimes have extra requirements around moisture barriers. Colder Northern states often add requirements around pipe insulation instead. Confirm these details ahead of time. Pulling a permit might feel like an unnecessary hassle for a straightforward tub swap. It protects you, though, if you ever sell the home and an inspector flags unpermitted plumbing work.
Best Alcove Tubs for Small Bathrooms in 2026
Kohler continues to lead the compact soaking category. Its models are built specifically for shorter footprints. They still allow a full, comfortable soak thanks to added depth rather than added length. American Standard remains a strong mid-range pick. It offers reliable acrylic construction with straightforward installation hardware that DIYers appreciate. For budget-conscious remodels, Kingston Brass and similar acrylic models in the 60-inch range deliver solid value. They generally land in the 400 to 600 dollar range. Many still include features like integral aprons and slip-resistant basin floors.
Does your household include small children or anyone with limited mobility? If so, prioritize tubs with a lower step-over height and a textured, slip-resistant floor. These two features do more for everyday safety than almost any other spec on the list. Whichever brand you choose, confirm the drain location first. Either left-hand or right-hand drains should match your existing plumbing before you order. Return shipping on a full-size tub is neither cheap nor convenient.
Common Installation Mistakes to Avoid
Skipping the mortar bed under an acrylic tub is, by far, the most common mistake homeowners make. It is also the one that causes the most expensive repairs down the road. Beyond that, many homeowners fail to check the subfloor for water damage before installing a new tub. This often means hidden rot gets sealed away rather than fixed. That problem only grows worse over time.
Another frequent misstep involves the caulking step. Homeowners often rush it, or they use rigid materials instead of flexible silicone caulk around the tub’s perimeter. Houses naturally settle over time, and temperature shifts cause materials to expand and contract. Rigid caulk cracks under that stress, and water can then seep behind the walls. According to the home renovation experts at This Old House, roughly 30 percent of online tub purchases arrive with some form of shipping damage. Inspect your new tub thoroughly before installation, rather than after. This simple step can save you a frustrating mid-project delay.
If you are also updating your bathroom’s plumbing fixtures as part of this project, our guide to choosing bathroom faucets and fixtures covers matching finishes and flow rates that pair well with a new tub installation.
Regional Considerations Across the US
Homes in older Northeastern cities, particularly in places like Boston, Philadelphia, and New York, often still have original cast iron tubs from decades past. Removing these safely typically requires breaking them apart. Budget extra time for this task, and protect your flooring accordingly.
In the Sun Belt, including fast-growing metro areas across Texas, Arizona, and Florida, new construction and remodels alike tend to favor lightweight acrylic tubs. Faster installation timelines matter more in a competitive renovation market, and acrylic simply moves faster. Meanwhile, homeowners in colder Northern states should pay close attention to pipe insulation around exterior-facing plumbing walls. Freeze damage during a hard winter can undo an otherwise solid installation in a single cold snap.
Keeping Your New Tub Looking Good
Once your alcove tub is installed, a little routine maintenance goes a long way. Stick to non-abrasive cleaners on acrylic surfaces. Harsh scrubbing pads dull the glossy finish over time, and they make future stains harder to remove. Re-caulk the tub-to-wall seam every few years, or sooner if you notice any cracking or discoloration. A failed seal is one of the fastest ways for hidden water damage to develop behind the wall. Most manufacturers back acrylic tubs with a warranty lasting one to five years. Register your product after installation, and keep the receipt somewhere safe in case you need to file a claim later.
Final Thoughts
An alcove bathtub remains one of the smartest, most practical upgrades for a small American bathroom in 2026. It does not require sacrificing style to gain function. Focus on getting the size and depth right for genuine comfort. Choose a material that fits your budget and maintenance tolerance. Never skip the mortar bed or proper subfloor prep, since those two steps prevent the majority of long-term problems. With the right planning, a weekend project can leave you with a tub that looks great and holds up for well over a decade.
Frequently Asked Questions
How much does it cost to install an alcove bathtub in 2026?
Most homeowners spend between 300 and 800 dollars on labor alone. Add the cost of the tub itself, which typically runs 400 to 800 dollars for a quality acrylic model. Simple, like-for-like replacements land toward the lower end. Projects requiring plumbing changes or subfloor repair cost more.
Can I install an alcove bathtub myself?
A straightforward replacement that keeps the same footprint and drain location is manageable for an experienced DIYer over a weekend. That said, any project involving moved plumbing, cast iron removal, or subfloor repair is generally worth hiring a professional for. Mistakes here get expensive fast.
What is the best material for a small bathroom alcove tub?
Acrylic reinforced with fiberglass is the best overall choice for most small bathrooms. It is lightweight, it retains heat well, and it costs significantly less than cast iron or stone resin. It still lasts a decade or more with proper care.
Do I need a permit to replace an alcove bathtub?
It depends on your local jurisdiction and whether the project involves plumbing changes. A simple like-for-like swap sometimes does not require a permit. Moving drain lines or supply plumbing almost always does, so check with your local building department before starting.
How deep should a bathtub be for a small bathroom?
A depth between 18 and 20 inches generally offers the best comfort-to-space ratio for smaller bathrooms. This allows a fuller soak, even when the tub’s overall length is shorter than a standard 60-inch model.
What size is a standard alcove bathtub?
Standard alcove tubs typically measure around 60 inches long and 28 to 32 inches wide. Compact models designed for small bathrooms can run as short as 42 to 48 inches, while still offering a comfortable soak through added depth.
Why do acrylic tubs crack after installation?
Cracking almost always traces back to a missing or improperly installed mortar bed beneath the tub. This leaves the acrylic floor unsupported, and it becomes prone to flexing under body weight over time.
Is an alcove tub better than a freestanding tub for a small bathroom?
For most small bathrooms, yes. An alcove tub uses the surrounding walls for support, and it takes up meaningfully less floor space than a freestanding model. It also pairs easily with a shower system for everyday practicality.
[…] you’re weighing a full bathroom fixture upgrade, our Bathroom Fixtures Buying Guide covers how toilets, faucets, and showerheads work together on water efficiency and […]