

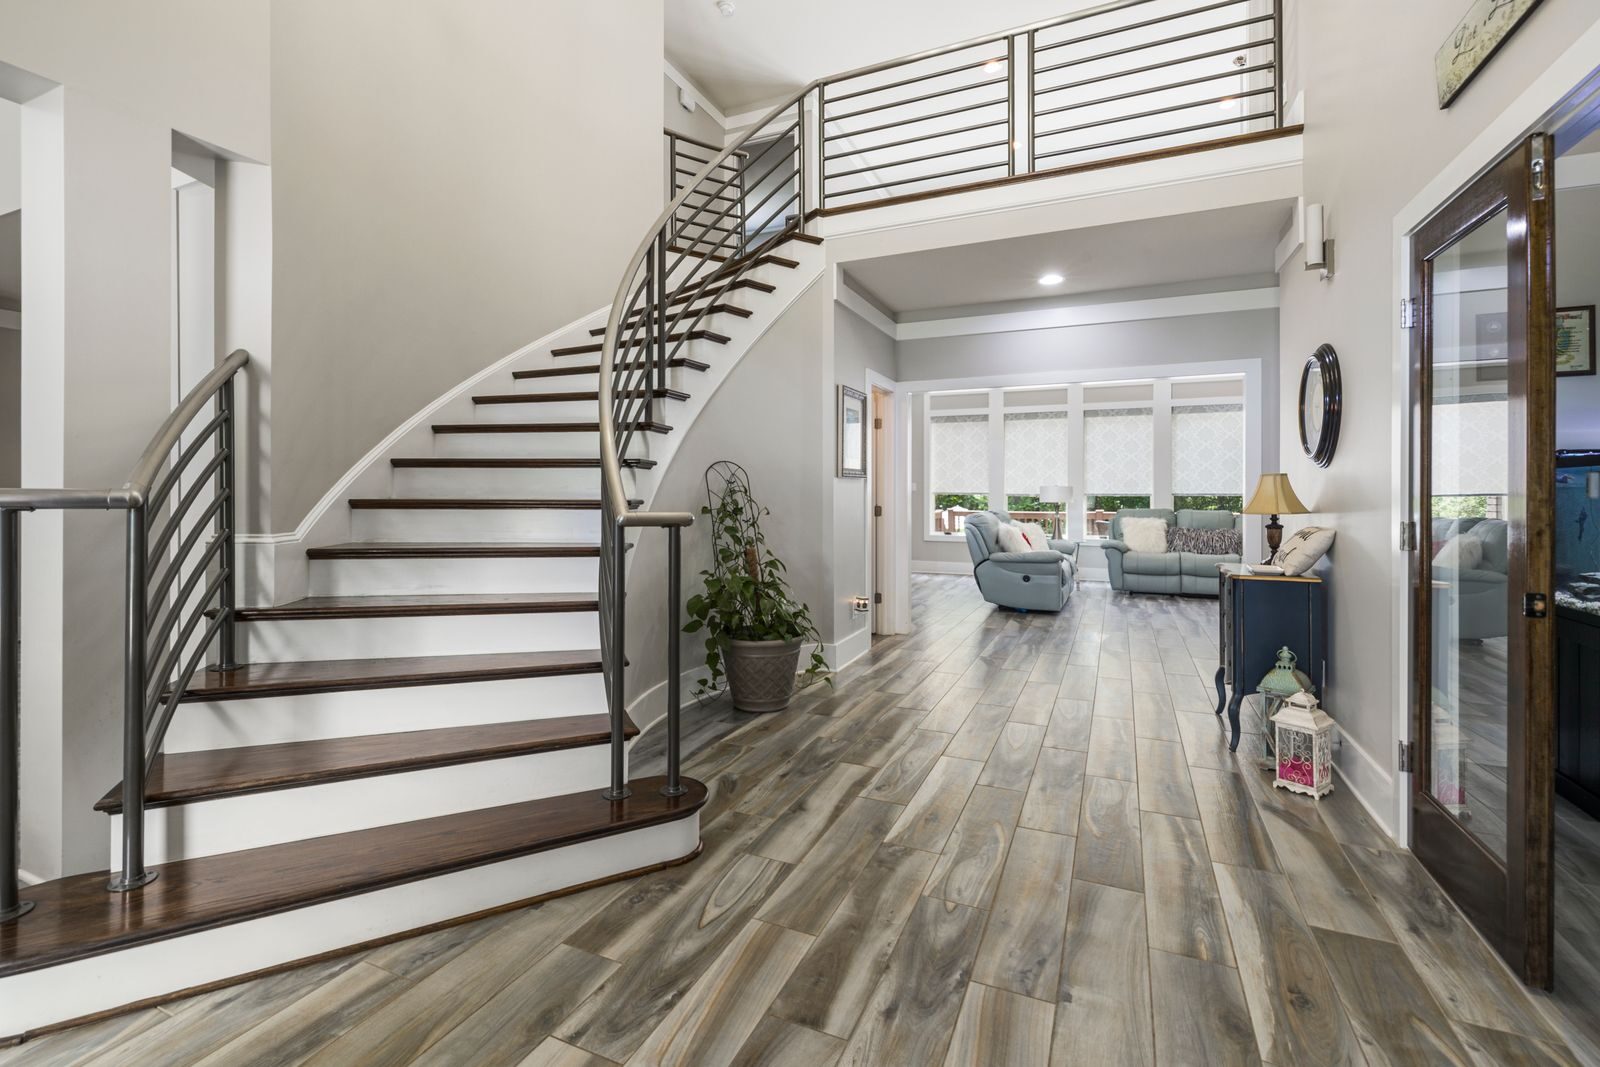
Have you ever noticed that rounded edge at the front of a stair tread? That piece is called a stair nose. It might look like a small detail. In reality, it plays a big role in both safety and style.
A stair nose covers the exposed edge where your flooring meets the vertical drop of the step below. Without it, that edge would look unfinished. Worse, it could become a tripping hazard. Building codes actually address this detail directly, which tells you how much it matters.
In this guide, we will cover the different types of stair nose profiles available in 2026. We will also walk through installation steps, current code requirements, and pricing. By the end, you should know exactly which option fits your stairs, your flooring, and your budget.
What Is a Stair Nose, Exactly?
A stair nose, sometimes called stair nosing, is the trim piece installed at the front edge of a stair tread. It creates a smooth, finished transition between the tread and the riser below. Most stair noses extend slightly past the edge of the step. This small overhang gives your foot a clear visual cue about where the step ends.
Why does that matter so much? Because our eyes and feet rely on consistent step edges to judge distance while climbing or descending. A rounded, well-defined nose helps prevent missteps, especially in low light or when carrying items up the stairs.
Why Stair Nosing Matters for Safety
Building codes do not include stair nosing requirements by accident. According to the 2024 International Residential Code, most stairways need a nosing projection between three-quarters of an inch and one and one-quarter inches. The nosing also needs a rounded edge, with a curvature radius no greater than nine-sixteenths of an inch. This keeps the edge from feeling sharp or slippery underfoot.
There is one common exception, though. If your tread depth measures at least 11 inches, code does not require a nosing at all. Many modern staircases use this exception on purpose, since it creates a cleaner, more minimalist look.
Local codes can vary slightly from one city to the next. So, always confirm requirements with your local building department before finalizing your project. For the most current and authoritative code language, the International Code Council publishes the full IRC text online, including every stairway section referenced in this guide.
Types of Stair Nose Profiles
Not every stair nose looks the same. In fact, the right profile depends heavily on your existing flooring type and the look you want to achieve.
1. Overlap Stair Nose
This style overlaps the subfloor and tread edge, hiding the seam completely. Overlap noses work well with laminate and engineered wood flooring, since they hide expansion gaps neatly. Many installers prefer this style for retrofit projects, because it forgives small measurement inconsistencies.
2. Flush Stair Nose
A flush stair nose sits level with the surrounding flooring, without an overlap lip. This creates a cleaner, more seamless appearance. However, it usually requires more precise cutting during installation, since there is no lip to hide small gaps.
3. Square Edge Stair Nose
This profile keeps a straight, squared-off edge instead of a rounded one. It suits modern and minimalist interiors particularly well. Keep in mind, though, that some square-edge designs may not meet code if your local jurisdiction requires a rounded nosing radius.
4. Bullnose Stair Nose
Bullnose profiles feature a fuller, more rounded curve. This style pairs beautifully with hardwood stairs, and it tends to feel the most traditional of all the options. Because of the rounded shape, bullnose noses also tend to wear well over time, since there is no sharp edge to chip.
5. Carpet-to-Hard-Surface Stair Nose
If your stairs transition from carpet on the upper floor to hardwood or tile below, a specialty carpet-edge stair nose handles that switch cleanly. These pieces typically include a tuckable edge that grips the carpet backing securely.
Choosing the Right Material
Material choice affects durability, appearance, and price all at once. Here is how the most common options compare.
Solid hardwood stair noses match real wood flooring almost perfectly, since they come from the same species and finish batch. They also hold up well to decades of foot traffic. However, they cost more than most alternatives, and they require careful color matching.
Engineered wood stair noses offer a similar look at a lower price point. They tend to resist humidity changes better than solid wood, which matters in basements or homes with fluctuating indoor climates.
Laminate stair noses pair naturally with laminate flooring, and manufacturers usually sell matching profiles for each laminate line. They install quickly, though they generally do not hold up as well to heavy impact compared to wood or metal.
Vinyl and LVP stair noses have grown especially popular in 2026, largely because vinyl plank flooring itself has become so common in American homes. These noses flex slightly, which helps them absorb impact without cracking.
Aluminum and metal stair noses show up most often in commercial buildings, garages, and high-traffic areas. They resist wear extremely well, and many include a textured, slip-resistant strip built directly into the profile.
Stair Nose Installation: Step-by-Step
Installing a stair nose is a manageable weekend project for most confident DIYers. Still, precision matters, since even small gaps can create both a safety issue and an eyesore.
Step 1: Measure each tread individually. Do not assume every step matches exactly, since older homes especially can have slight variations. Measure the width of each tread separately before cutting anything.
Step 2: Choose the correct profile for your flooring thickness. Manufacturers typically list a compatible flooring thickness range for each stair nose product. Double-check this before purchasing, since a mismatched thickness will leave an uneven surface.
Step 3: Cut the stair nose to length. Use a fine-tooth saw blade to avoid chipping, especially with laminate or engineered wood. Cut slowly, and test-fit the piece before applying any adhesive.
Step 4: Apply adhesive or fasten mechanically. Many stair noses use a combination of construction adhesive and finish nails. Vinyl and LVP options sometimes click into a track system instead, which simplifies the process further.
Step 5: Secure the piece and let it cure. Follow the manufacturer’s recommended curing time before walking on the stairs regularly. Rushing this step can shift the nosing out of alignment.
Step 6: Caulk and finish the edges. A thin bead of color-matched caulk along the seam creates a polished, professional look. This also helps prevent debris and moisture from working into the gap over time.
If your project involves replacing flooring throughout your staircase and not just the nosing, our flooring installation guide covers underlayment, transition strips, and subfloor prep in more detail.
Common Installation Mistakes to Avoid
A few mistakes come up again and again, even among experienced DIYers.
Skipping the individual tread measurements ranks as the most common error. Stairs often look identical, but small construction variances add up quickly. Another frequent mistake involves ignoring the manufacturer’s thickness compatibility chart, which leads to a nosing that sits too high or too low compared to the flooring surface.
Rushing the adhesive cure time causes problems too. A nosing that shifts slightly before curing can create a lip that catches shoes or slippers. Finally, some installers overlook local code minimums entirely. This can create real liability issues, especially if you plan to sell your home down the road and a buyer’s inspector flags the stairs.
Stair Nose Pricing in 2026
Prices vary quite a bit depending on material and length. Here is a general breakdown to help you budget.
- Laminate stair nose: typically $15 to $35 per piece, depending on length and finish match.
- Vinyl or LVP stair nose: usually $20 to $45 per piece, with pricing rising for wider profiles.
- Engineered wood stair nose: generally $30 to $60 per piece.
- Solid hardwood stair nose: often $40 to $90 per piece, especially for premium species like oak or walnut.
- Aluminum or metal stair nose: ranges from $25 to $70 per piece, depending on the slip-resistant insert style.
For a full staircase with 12 to 15 treads, total material costs often land somewhere between $300 and $900, not including labor. If you hire a professional installer, expect labor costs to add roughly $15 to $40 per step, depending on your region and the complexity of the job.
DIY vs. Professional Installation
Should you install stair nosing yourself, or bring in a professional? It depends on your comfort level with precise measuring and cutting.
If you already have some experience installing laminate or LVP flooring, stair nosing is a natural next step. The tools required overlap significantly with standard flooring installation. However, if your staircase includes winder treads, curves, or unusual angles, hiring a professional installer often saves both time and material waste.
Homeowners in older homes, particularly those built before the 1970s, should also pay close attention to uneven tread depths. A professional can quickly identify inconsistencies that might otherwise turn into a frustrating trial-and-error project.
Final Thoughts
A stair nose might seem like a minor finishing touch, but it plays a real role in both safety and everyday comfort. Getting the profile, material, and installation right protects your household from slips while giving your staircase a polished, cohesive look. Whether you tackle this project yourself or hire a professional, taking the time to measure carefully and follow code minimums will pay off for years to come.
Frequently Asked Questions
1. What is the difference between stair nosing and a stair tread? A stair tread is the horizontal surface you step on. Stair nosing is the trim piece that finishes and protects the front edge of that tread.
2. Is a stair nose required by code? In most cases, yes, unless your tread depth measures at least 11 inches. Many jurisdictions follow the IRC’s three-quarter-inch to one-and-one-quarter-inch nosing projection requirement.
3. Can I install a stair nose over existing flooring? Yes, in most cases. Many stair nose products are designed specifically for retrofit installation over existing hardwood, laminate, or vinyl flooring, as long as the thickness matches.
4. How do I match my stair nose to my flooring color? Most flooring manufacturers sell matching stair nose profiles alongside their flooring lines. If an exact match is not available, a slightly darker or lighter tone from the same wood family usually blends in well.
5. What is the best stair nose material for a high-traffic staircase? Aluminum or metal stair nosing tends to hold up best under heavy daily use, especially in commercial settings or busy family homes with kids and pets.
6. Do I need special tools to install a stair nose myself? A fine-tooth saw, measuring tape, adhesive or construction glue, and a finish nailer typically cover most installations. Some click-lock vinyl systems require no tools beyond a saw for cutting to length.
7. How much does it cost to replace stair nosing on a full staircase? Material costs generally range from $300 to $900 for a full staircase, depending on material choice. Professional labor typically adds $15 to $40 per step.
8. Can stair nosing help prevent slips on stairs? Yes. Many stair nose products, especially aluminum and vinyl options, include textured or slip-resistant inserts that improve traction, which matters most on hard-surface stairs.