

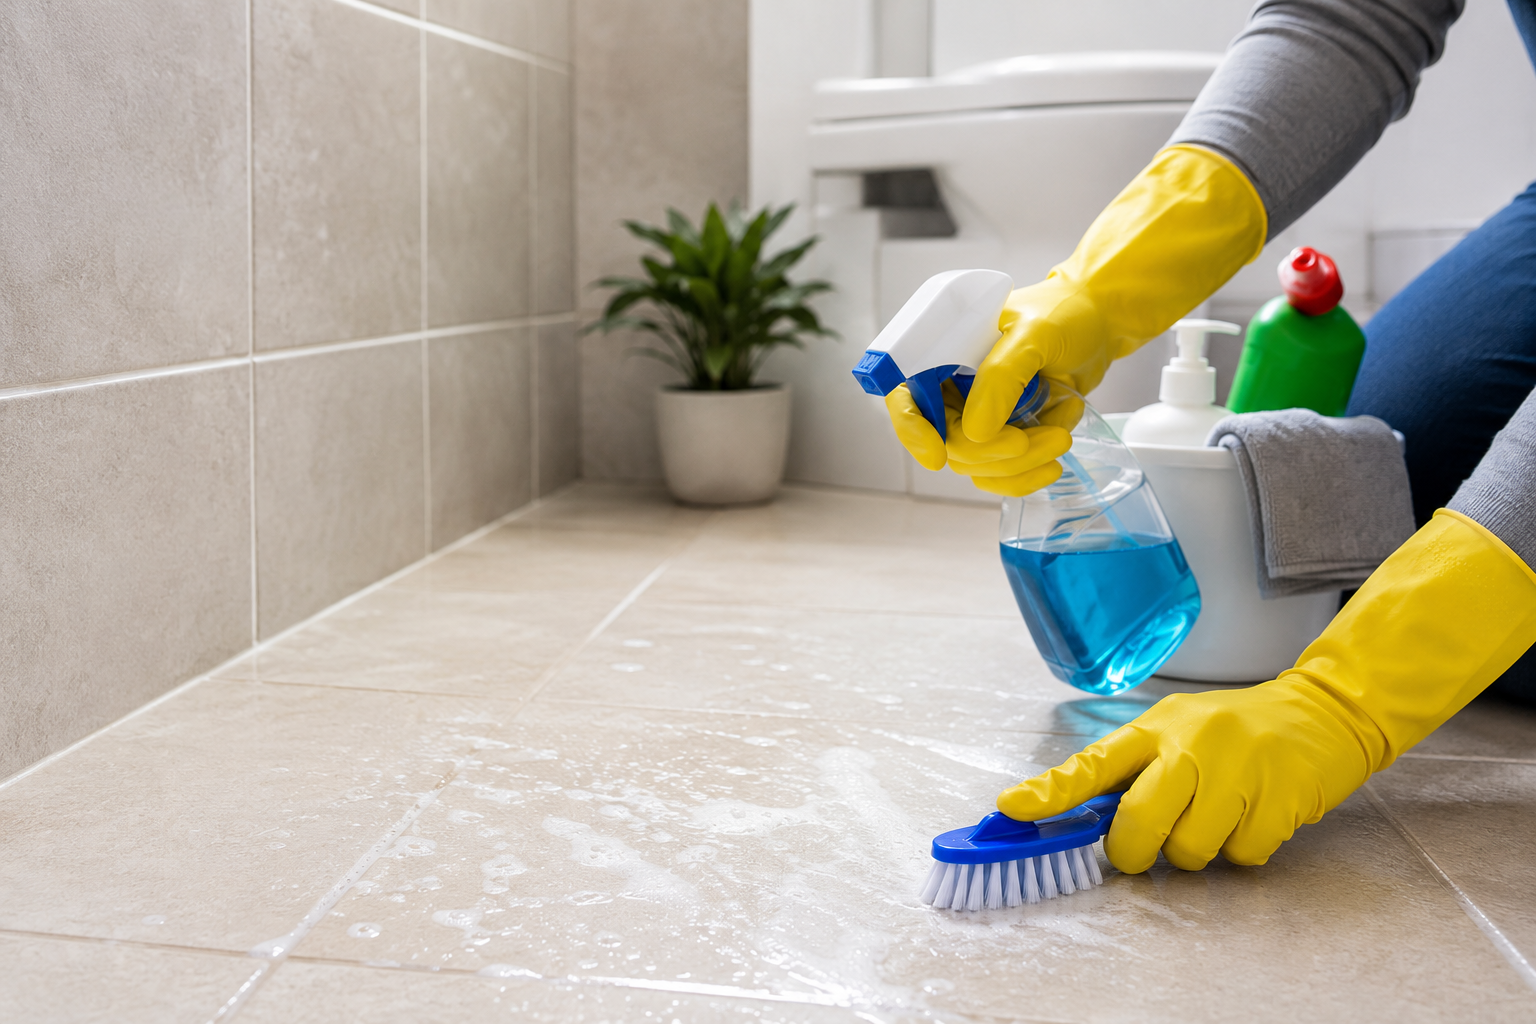
If you’ve ever scrubbed a shower floor until your arms ached, only to still see cloudy streaks, you already know that bathroom tiles are not as simple as they look. I’ve cleaned more bathrooms than I’d like to admit over the years, in rental apartments, older homes, and newly renovated spaces. Along the way, I’ve learned that the difference between a dull, grimy bathroom and a bright, hotel-fresh one usually comes down to technique, not elbow grease.
This guide walks through seven practical steps that work in 2026, using cleaning methods and products that are widely available across the U.S. Whether you’re dealing with hard water spots in Arizona, soap scum in a humid Florida bathroom, or grimy grout in a century-old home in the Midwest, these steps apply. Let’s get into it.
Quick Answer
- Clear and dry-sweep the tile surface before adding any water or cleaner.
- Match the cleaner to your tile: dish soap and water or diluted vinegar for ceramic/porcelain, a pH-neutral stone cleaner for marble, travertine, or limestone.
- Let the cleaner sit 5-10 minutes, then scrub grout lines with a dedicated brush or old toothbrush.
- Treat soap scum and hard water stains separately: dish soap cuts through grease-based soap scum; vinegar dissolves mineral-based hard water stains.
- Rinse, dry, and seal grout once or twice a year to keep tiles cleaner for longer.
Why Clean Bathroom Tiles Regularly Matters
Bathrooms are warm, damp, and constantly exposed to soap, skin oils, and minerals from water. Because of this combination, tiles and grout become a magnet for mildew, soap scum, and hard water buildup faster than almost any other surface in your home. Left untreated, these issues don’t just look bad. They can also lead to mold growth, which the U.S. Environmental Protection Agency notes can affect indoor air quality and, in some cases, contribute to respiratory irritation.
Regular cleaning also protects your investment. Grout is porous, so stains and mineral deposits sink in over time and become far harder to remove. As a result, a quick weekly wipe-down is always easier than a deep, once-a-year scrub-down. That said, even neglected tiles can usually be restored with the right approach, which is exactly what we’ll cover below.
What You’ll Need Before You Start
Before diving into the steps, gather a few basic supplies. You likely already have most of these at home.
- A soft-bristle scrub brush or an old toothbrush for grout lines
- A microfiber cloth or squeegee
- White vinegar or a store-bought tile cleaner
- Baking soda
- Dish soap
- Rubber gloves
- A spray bottle
- Optional: a grout sealer for the final step
Once you have your supplies ready, you’re set to begin. Now let’s walk through the seven steps.
Step 1: Clear the Space and Do a Dry Sweep
First, remove bath mats, shower curtains, bottles, and anything else sitting on the tile surface. This might seem like a small detail, but it makes a real difference. A cluttered shower makes it nearly impossible to reach corners and edges where grime tends to build up the most.
Next, sweep or vacuum loose hair, dust, and debris. Skipping this step often means you’re just pushing dirt around once you add water and cleaner. In fact, a quick dry pass usually takes less than two minutes and saves considerable time later.
Step 2: Choose the Right Cleaner for Your Tile Type
Not all tiles are the same, so the cleaner you use matters. Ceramic and porcelain tiles are fairly forgiving and tolerate most standard cleaners. Natural stone tiles, such as marble, travertine, or limestone, are a different story. Because these materials are more porous and reactive, acidic cleaners like vinegar or lemon juice can etch and dull the surface over time.
For ceramic or porcelain, a mix of warm water and a few drops of dish soap works well for everyday cleaning. For tougher grime, a solution of equal parts white vinegar and water is effective and budget-friendly. However, if you have natural stone, stick to a pH-neutral stone cleaner instead. Many major retailers, including Home Depot and Lowe’s, carry stone-safe formulas labeled specifically for this purpose.
Step 3: Apply the Cleaner and Let It Sit
Once you’ve chosen the right product, spray it generously across the tile surface and grout lines. Then, and this is the part people often skip, let it sit for five to ten minutes. Giving the cleaner time to penetrate soap scum and mineral deposits makes scrubbing dramatically easier.
Meanwhile, this is a good moment to open a window or turn on the bathroom fan. Proper ventilation helps disperse fumes and moisture, which also reduces mildew growth over time.
Step 4: Scrub Grout Lines With a Dedicated Brush
Grout is usually where bathrooms look the dirtiest, even when the tiles themselves seem clean. For this step, use a stiff-bristled grout brush or an old toothbrush and work in small circular motions along the lines.
If your grout has stubborn gray or black stains, make a paste using baking soda and a small amount of water. Apply it directly to the grout, let it sit for a few minutes, then scrub again. This combination handles most everyday grout stains without needing harsh chemicals. For deeper mold stains, an oxygen-based cleaner can help, though it’s worth testing a small area first to check for discoloration.
Step 5: Tackle Soap Scum and Hard Water Stains
Soap scum and hard water stains are two different problems, and treating them separately gets better results. Soap scum, that cloudy film near shower heads and soap dishes, usually responds well to dish soap and warm water because dish soap is designed to cut through grease and residue.
Hard water stains, on the other hand, are mineral deposits and respond better to acidic solutions like white vinegar. This distinction matters a lot if you live in regions with notably hard water, such as much of the Midwest, Texas, and parts of the Southwest. In these areas, mineral buildup can appear within just a few weeks of cleaning, so a slightly more frequent routine helps keep tiles looking fresh.
| Problem | What Causes It | Best Cleaner | How to Treat It |
|---|---|---|---|
| Soap scum | Soap residue mixing with body oils and skin minerals | Dish soap + warm water | Apply, let sit 5 minutes, scrub with a soft sponge, rinse |
| Hard water stains | Calcium and magnesium deposits left behind as water evaporates | White vinegar + water (ceramic/porcelain only) | Spray, let sit 10 minutes, scrub, rinse and dry immediately |
| Mold or mildew | Moisture trapped in porous grout | Oxygen-based cleaner or baking soda paste | Apply, let sit 10 minutes, scrub with a toothbrush, rinse |
Step 6: Rinse Thoroughly and Dry the Surface
After scrubbing, rinse the entire area with clean water to remove all cleaner residue. Leftover cleaning solution can attract dust and create a hazy film, which somewhat defeats the purpose of cleaning in the first place.
Finally, dry the tiles with a microfiber cloth or squeegee. This last step is easy to skip, but it’s actually one of the most important. Standing water is the main reason mildew returns so quickly in bathrooms, so drying the surface after every clean, or even after every shower, dramatically slows down regrowth.
Step 7: Seal Grout and Maintain Shine
Once your tiles and grout are clean and completely dry, consider applying a grout sealer. Sealing creates a protective barrier that resists moisture and staining, which means less scrubbing next time. Most sealers last between six months and two years, depending on the product and how much daily use the bathroom gets. If you’re also updating fixtures while you’re in there, see our shower cartridge guide for replacement tips.
Additionally, maintaining shine going forward is simpler than people expect. A quick daily squeegee after showers, paired with a weekly wipe-down, keeps tiles looking new for much longer. Over time, this small habit reduces how often you need a deep clean at all.
A Quick Note for Homes With Hard Water
If you live somewhere with notably hard water, an EPA WaterSense-labeled showerhead or a water softening system can meaningfully reduce mineral buildup on tiles over time. This is a longer-term investment, but for households dealing with constant hard water film, it often pays off. You can learn more about water efficiency programs directly from the U.S. Environmental Protection Agency’s WaterSense program, which offers guidance on reducing water use and mineral impact in homes across the country.
Common Mistakes to Avoid
Even with the right steps, a few habits tend to undo good cleaning work.
- Using bleach on colored grout. Bleach can lighten or discolor tinted grout, so stick to gentler alternatives unless your grout is white.
- Skipping ventilation. Poor airflow traps moisture, which speeds up mildew growth regardless of how well you clean.
- Scrubbing with abrasive pads on stone tile. This can scratch and dull the surface permanently.
- Ignoring the ceiling and upper walls. Mold often starts here first, especially in bathrooms without exhaust fans.
- Waiting too long between cleanings. Once buildup sets in, it takes significantly more time and product to remove.
Avoiding these mistakes, combined with the seven steps above, should keep your bathroom looking consistently clean rather than needing a major overhaul every few months.
Cleaning Bathroom Tiles by Material Type
The “right” cleaner really does depend on what your tile is made of. Using the wrong product on the wrong surface is one of the most common ways people accidentally damage tile they were just trying to clean.
Ceramic and Porcelain Tile
These are the most common and most forgiving bathroom tiles. Warm water with a few drops of dish soap handles daily grime, while a diluted white vinegar solution tackles tougher soap scum and light mineral buildup. Both surfaces can also tolerate a soft-bristle brush without scratching.
Natural Stone (Marble, Travertine, Limestone)
Never use vinegar, lemon juice, or any acidic cleaner on natural stone. Because these materials are porous and reactive, acid etches the surface, leaving permanent dull spots. Stick to a pH-neutral stone cleaner and a soft cloth, and reseal the stone periodically to protect against moisture. If you’re weighing stone options for a renovation, our travertine flooring guide covers care and sealing in more depth.
Vinyl and Laminate “Tile” Flooring
If your bathroom uses vinyl or laminate tile rather than true ceramic or stone, avoid soaking it, since excess water can seep into seams and cause warping. A barely damp microfiber mop with a small amount of dish soap is usually enough, followed by an immediate dry pass.
Weekly and Monthly Maintenance Checklist
A short, consistent routine prevents most of the buildup that makes a deep clean necessary in the first place.
After Every Shower
- Squeegee walls and floor to remove standing water
- Leave the door or curtain open slightly for airflow
Weekly
- Wipe down tile surfaces with a dish soap or vinegar solution (tile-appropriate)
- Spot-check grout lines for early staining
Monthly
- Deep-scrub grout lines with a dedicated brush
- Check grout sealer condition and reapply every 6 months to 2 years as needed
When to Call a Professional
Sometimes DIY methods aren’t enough, particularly with older grout, deep-set mold, or tile that has been neglected for years. If you’re tackling more than just the bathroom, our complete room-by-room deep cleaning checklist covers the rest of the house too. However, if mold keeps returning despite repeated cleaning, or if grout is crumbling and cracked, it’s usually a sign of an underlying moisture issue that a professional cleaner or contractor should assess. In these cases, ongoing DIY cleaning simply treats the surface rather than the source.
Frequently Asked Questions
How often should I clean bathroom tiles? A quick wipe-down once a week is usually enough for most households, with a deeper clean every month. That said, bathrooms with heavy daily use or hard water may need more frequent attention.
What is the best natural cleaner for bathroom tiles? White vinegar mixed with water works well for ceramic and porcelain tiles because it breaks down soap scum and mineral deposits effectively. However, it should be avoided on natural stone since the acidity can cause etching.
Can I use vinegar on all types of tile? No. Vinegar is safe for ceramic and porcelain but not recommended for marble, travertine, or limestone. For these materials, a pH-neutral stone cleaner is a safer choice.
How do I get black mold out of grout? An oxygen-based cleaner or a baking soda paste left to sit for several minutes usually loosens mold stains. For persistent or deep-set mold, a diluted bleach solution can help on white grout, though ventilation is essential during use.
Why does my bathroom tile look cloudy even after cleaning? Cloudiness is often leftover cleaner residue or hard water film. Rinsing thoroughly and drying the surface afterward typically clears this up.
Does sealing grout actually help? Yes. Sealing grout creates a moisture-resistant barrier that reduces staining and makes future cleaning noticeably easier, especially in high-use bathrooms.
Is it safe to mix cleaning products for tougher stains? No. Mixing products, particularly bleach and ammonia-based cleaners, can create dangerous fumes. It’s always safer to use one product at a time and rinse thoroughly between different cleaners.
What causes hard water stains on tiles, and how can I prevent them? Hard water stains come from mineral deposits, mainly calcium and magnesium, left behind as water evaporates. Using a squeegee after every shower and considering a water softener are both effective long-term prevention methods.
Final Thoughts
Cleaning bathroom tiles doesn’t have to be a dreaded weekend chore. With the right products, a bit of patience, and a consistent routine, most bathrooms can look genuinely sparkling within an hour or two. Start with these seven steps, adjust based on your specific tile type and local water conditions, and you’ll likely notice the difference after just one thorough clean. Over time, small maintenance habits will matter far more than any single deep-cleaning session.