

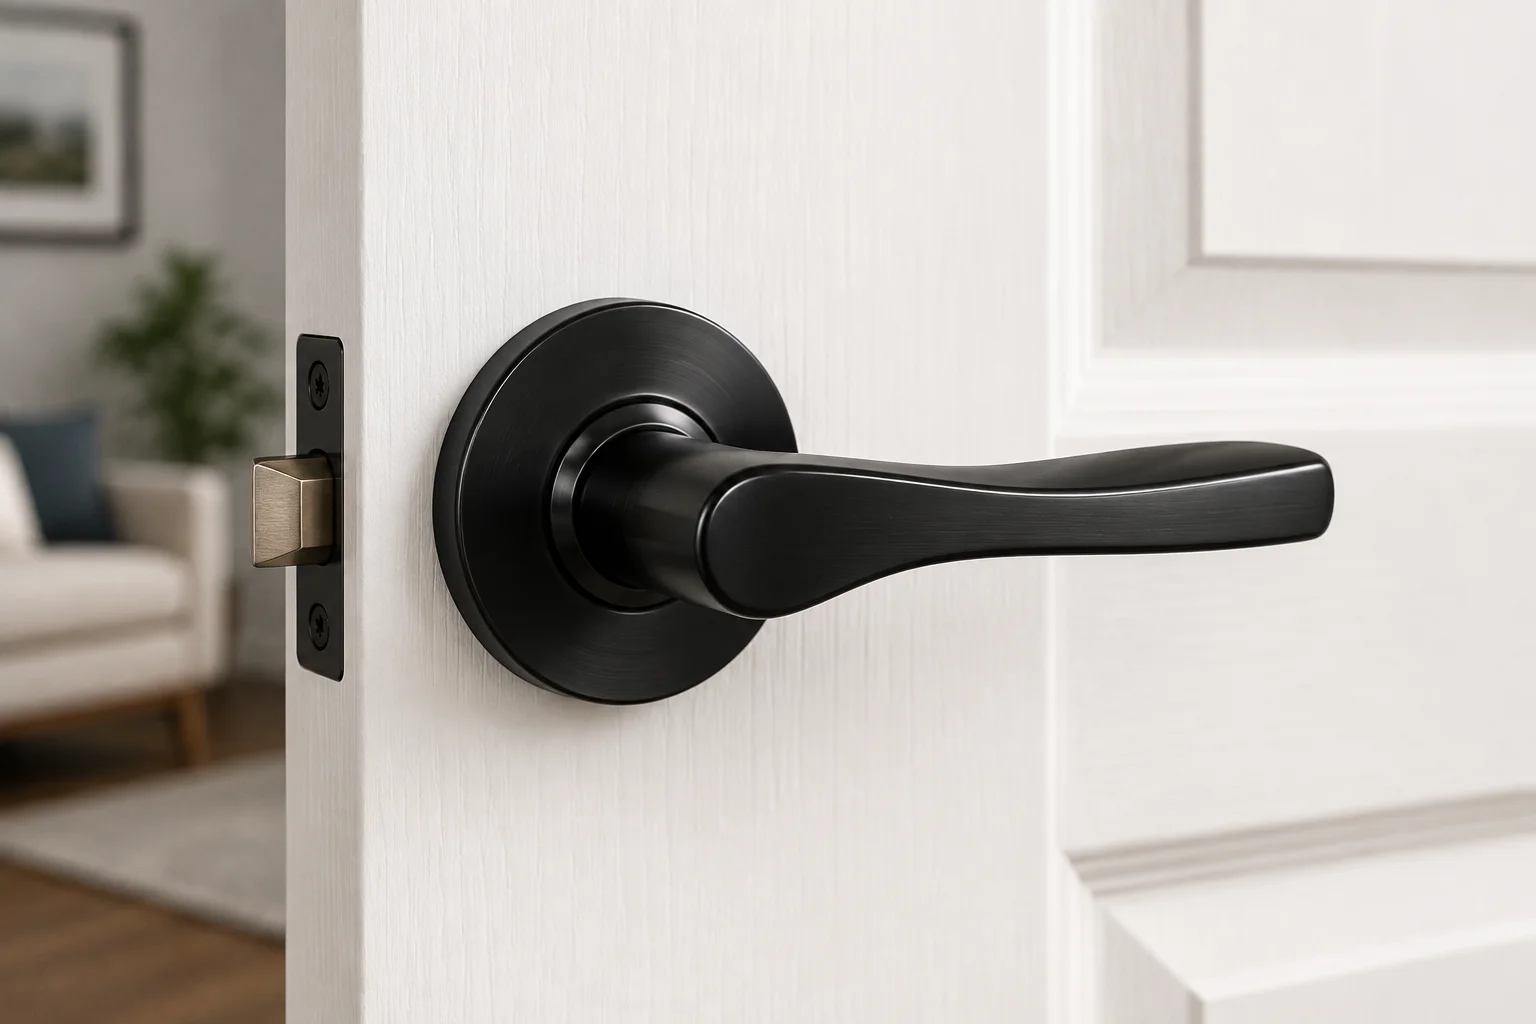
Walk through almost any American home, and you’ll touch a passage door handle without even thinking about it. It’s the hardware on your hall closet, your pantry, or the door between your kitchen and dining room. These handles don’t lock. In fact, that’s the whole point. They’re built for doors that simply need to open and close, over and over, without ever needing privacy or security.
I’ve spent years helping homeowners sort through door hardware for renovations, and passage handles are usually the easiest decision. Still, plenty of shoppers grab the wrong function by accident, since passage, privacy, and dummy handles often look nearly identical on the shelf. This guide breaks down exactly what a passage door handle is, what it costs in 2026, how to install one, and how to avoid the mix-ups that trip up so many DIYers.
What Is a Passage Door Handle?
A passage door handle is a non-locking handle set. It operates a spring latch that keeps the door closed, but it doesn’t include any locking mechanism at all. Because of that, you can open it freely from either side, every single time.
That simplicity is exactly why builders use passage handles so often. They’re the standard choice for interior doors where privacy simply isn’t a concern.
Where passage handles typically go:
- Hallway doors
- Closet doors
- Pantry doors
- Laundry room doors
- Doors between connected living spaces, like a kitchen and dining room
- Kids’ bedroom doors, especially when parents don’t want a lockable option
Passage vs. Privacy vs. Dummy: How to Tell Them Apart
This is where most shoppers get tripped up, so let’s clear it up quickly.
Passage handles turn and operate a latch, but they never lock. Both sides stay free at all times.
Privacy handles also turn and latch, but they include a simple push-button or turn-button lock on the interior side. You’ll find these on bedrooms and bathrooms. Most also have a small emergency-release hole on the outside, so someone can pop the lock open with a coin or a paperclip if needed.
Dummy handles don’t turn at all. They’re surface-mounted and purely decorative, usually paired with a separate latch like a roller catch. You’ll see these on the inactive side of French doors, or on closet doors that swing freely without needing a working latch.
Here’s a detail worth knowing: passage and privacy hardware from the same manufacturer usually share identical door prep. That means the same 2-1/8″ cross bore and a 2-3/8″ or 2-3/4″ backset. Because of that, you can often swap a passage set for a privacy set later, without drilling new holes.
Passage Door Handle Cost in 2026
Pricing has stayed relatively steady this year, though it varies quite a bit by style, brand, and finish.
Budget knobs and levers: $10–$25 per handle. These are typically builder-grade Kwikset or Defiant options in basic finishes like satin nickel or matte black.
Mid-range options: $25–$50 per handle. This range covers most Schlage passage levers, along with nicer Kwikset styles and better ANSI Grade 2 hardware.
Premium and designer hardware: $50–$150+ per handle. Brands like Baldwin, Emtek, and boutique hardware studios fall here, often with solid brass construction or hand-finished details.
A few cost factors worth planning around:
- Levers generally cost a bit more than knobs in the same finish and line
- Multi-packs (4 or 8 count) bring the per-unit price down significantly for whole-home projects
- ANSI Grade 1 hardware costs more upfront but holds up far better over time, especially on high-traffic doors like hallway closets
- Professional installation typically runs $15–$40 per door if you’re not doing it yourself
For a typical interior remodel with 6–8 passage doors, expect to spend $150–$400 on hardware alone in the mid-range tier, or $500–$1,200+ if you’re going with a premium designer finish throughout.
How to Choose the Right Passage Handle
1. Decide between a knob and a lever. Levers are easier to operate with a full hand, an elbow, or even a foot when your hands are full. Because of that, they’re also the better choice for accessibility. In fact, the ADA Standards for Accessible Design call for hardware that doesn’t require tight grasping, pinching, or wrist twisting, which rules out round knobs in accessible spaces. If you’re renovating for aging-in-place or universal design, levers are worth prioritizing throughout the home.
2. Match your finish to existing hardware. Satin nickel, matte black, and oil-rubbed bronze are the most popular finishes across the U.S. right now, and matching finishes throughout a home creates a much more cohesive look. If you’re only replacing a few doors, bring an old handle (or a photo) to the store so you can match undertones accurately.
3. Check the backset before you buy. Backset is the distance from the door’s edge to the center of the handle hole, and it’s almost always 2-3/8″ or 2-3/4″. Most modern passage sets have an adjustable backset, but it’s still worth double-checking before you order, especially for older homes.
4. Consider ANSI grade for high-use doors. ANSI Grade 1 is the most durable, Grade 2 is a solid mid-tier choice for most homes, and Grade 3 is fine for low-traffic doors like a rarely used closet. A busy pantry door in a family kitchen will wear out a Grade 3 latch far faster than a Grade 1.
5. Think about antimicrobial coatings if hygiene matters to you. Several manufacturers, including Kwikset, now offer antimicrobial finishes on passage hardware. These won’t replace regular cleaning, but they’re a nice bonus for kids’ rooms or shared spaces.
How to Install a Passage Door Handle
- Remove the old hardware. Unscrew the interior and exterior handles, then remove the latch plate from the door’s edge.
- Check the backset and bore size. Most passage sets fit a standard 2-1/8″ cross bore. If your existing hole matches, installation is straightforward.
- Insert the latch assembly into the edge of the door, making sure the beveled side of the latch faces the direction the door closes.
- Secure the latch faceplate with the provided screws.
- Install the spindle and both handles, aligning them so they turn smoothly without binding.
- Attach the strike plate to the door frame, lining it up with the latch so the door closes and holds firmly.
- Test it from both sides. The handle should turn smoothly, and the latch should retract fully without sticking.
Most passage handles install in 15–20 minutes with a basic screwdriver, since the hardware doesn’t require the extra locking components that privacy sets need.
Common Mistakes to Avoid
- Buying privacy hardware by mistake. The two often sit right next to each other on store shelves, and boxes look almost identical at a glance. Always check the packaging for “passage” or “hall/closet” labeling before checking out.
- Ignoring the backset measurement. Guessing here can mean returning hardware or drilling a second hole.
- Skipping the strike plate alignment. A misaligned strike plate is one of the most common reasons a new passage latch won’t catch properly.
- Choosing the cheapest option for a high-traffic door. A $10 knob on a frequently used pantry door often needs replacing within a couple of years, while a Grade 1 or Grade 2 set can last well over a decade.
If you’re also weighing lock options for bedrooms or bathrooms while you’re at it, our privacy door handle buying guide covers locking mechanisms, emergency releases, and which finishes pair well with passage hardware for a cohesive look throughout the house.
Frequently Asked Questions
What is the difference between a passage and privacy door handle? A passage handle has no lock at all, so it’s used on doors like closets and hallways where privacy isn’t needed. A privacy handle includes a push-button or turn-button lock and is meant for bedrooms and bathrooms.
Do passage door handles come in different sizes? Most residential passage handles fit a standard 2-1/8″ cross bore with an adjustable 2-3/8″ or 2-3/4″ backset, which covers the vast majority of interior doors in U.S. homes built in the last several decades. Older homes sometimes need a mortise lock instead, so it’s worth measuring before you buy.
Can I use a passage handle on a bedroom door? Yes. Many parents actually choose passage handles for kids’ bedrooms specifically because there’s no lock, which avoids accidental lock-outs. Adults who want privacy typically prefer a privacy or keyed set instead.
How much does it cost to replace passage door handles in a whole house? For a typical home with 6–8 interior doors, expect to spend $150–$400 on mid-range hardware, or more if you choose premium finishes or Grade 1 hardware throughout.
Are levers better than knobs for passage doors? Levers are generally easier to operate, especially for children, older adults, or anyone with limited hand strength, and they’re often required by ADA guidelines in accessible spaces. Knobs still work fine for most standard household doors, though.
Can passage and privacy handles use the same holes in my door? In most cases, yes. Passage and privacy sets from the same manufacturer typically share identical door prep, so you can switch a passage set to a privacy set later without redrilling.
How long do passage door handles last? A Grade 1 or Grade 2 passage handle can easily last 10–15 years or more with normal household use. Cheaper Grade 3 hardware on high-traffic doors, like a busy pantry, may need replacement within a few years.
What tools do I need to install a passage door handle? Most installations only require a Phillips screwdriver. A tape measure helps confirm backset and bore size before you buy, and a drill is only needed if you’re prepping a brand-new door.