

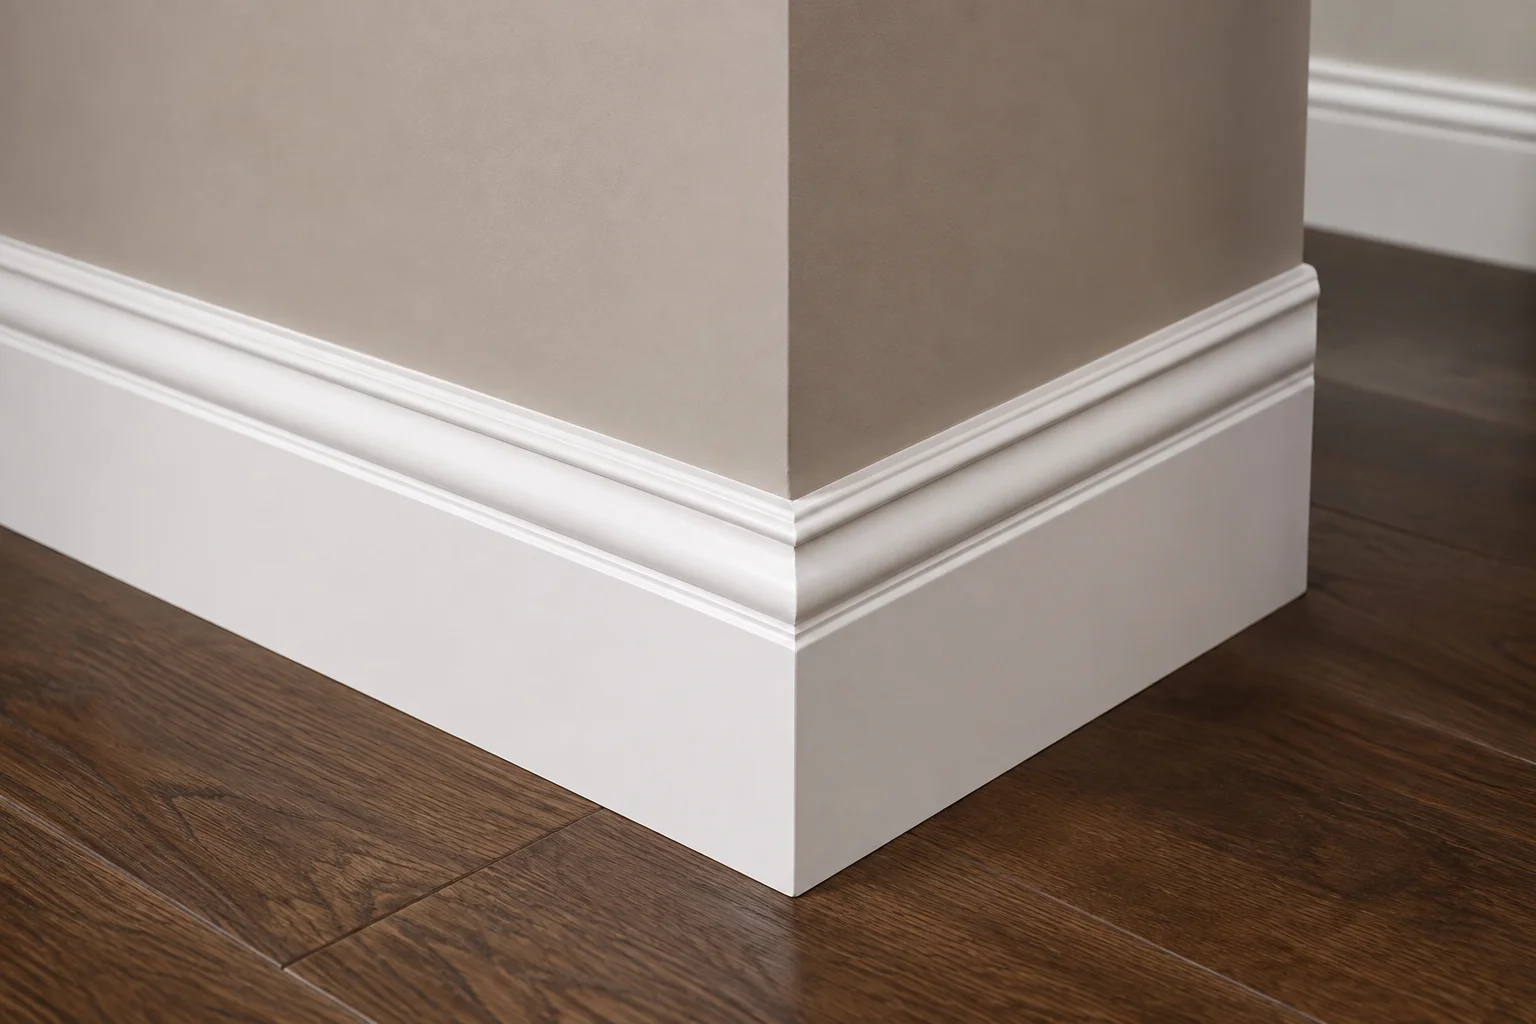
Look closely at where your baseboard meets the floor. Chances are, there’s a small gap running along the bottom edge. That gap comes from uneven flooring, natural wood movement, or simple installation tolerances. Shoe molding exists to hide it. And it does the job well when installed correctly.
This guide covers everything you need to know before starting a shoe molding project. We’ll break down current 2026 pricing. We’ll walk through the installation process step by step and we’ll also cover the material choices that actually matter. You’ll get practical tips for clean corners and a professional-looking finish. This applies whether you’re hiring it out or tackling it yourself.
What Is Shoe Molding?
Shoe molding is a narrow strip of trim. It’s installed at the base of your baseboard, right where it meets the floor. It typically has two flat, inward-facing sides. The outward-facing side is curved or concave. That shape lets it flex slightly. It sits flush against small irregularities in the floor.
Its main job is functional. It covers the gap between the baseboard and flooring. Without it, that gap would sit exposed and collect dust and debris. But shoe molding also adds a subtle decorative detail. It gives the base of a wall a more finished, tailored look than a bare baseboard edge.
People sometimes confuse shoe molding with quarter round. The two do serve a similar purpose. Quarter round has a simpler, more uniform quarter-circle profile. Shoe molding typically has a slightly more detailed curve. Either works for covering the same gap. So the choice usually comes down to personal style, not function.
Shoe Molding Cost in 2026
Pricing varies depending on material, region, and whether you hire a pro or DIY it. National data from 2026 gives a solid baseline for budgeting.
Most homeowners pay around $4 per linear foot on average for professional installation. That typically ranges between $2 and $6 per linear foot. This range covers both materials and labor combined. Material costs alone run considerably lower, though. That matters a lot if you’re planning a DIY project.
Here’s a breakdown by material type:
- MDF (medium-density fiberboard): $0.50 to $1.50 per linear foot for materials. This is the most budget-friendly option. It also comes pre-primed, which saves prep time.
- PVC: $1.00 to $2.00 per linear foot for materials. PVC resists moisture well. That makes it a smart choice for bathrooms and kitchens.
- Solid wood: $1.50 to $3.00 per linear foot or more for materials, depending on the species. Wood offers the most traditional look. It also holds up to staining better than other materials. But it costs more and takes more skill to install cleanly.
Labor alone typically adds $150 to $600 to a project. That’s if you’re having the trim professionally painted or stained after installation. Total project costs for a full room usually land somewhere between $50 and a few hundred dollars. The final number depends on room size, material choice, and whether you’re paying for labor.
Shoe Molding vs. Quarter Round: Which Should You Choose?
Both moldings solve the same basic problem. So the decision usually comes down to a few practical factors, not one being objectively better.
Shoe molding tends to look slightly more refined and traditional. That makes it a common pairing with taller, more detailed baseboards. Quarter round has a simpler profile that blends in more subtly. It’s often the go-to choice in modern or minimalist spaces. In those rooms, you want the trim to disappear rather than stand out.
Price differences between the two stay minimal in most cases. So material quality and finish matter more than the specific profile you choose. If you’re replacing existing trim, match your home’s existing profile. That keeps the transition seamless between rooms. Check what’s already installed before ordering new material.
Tools and Materials You’ll Need
Gather the right tools before starting a shoe molding installation. Trying to improvise with the wrong equipment is one of the most common reasons DIY trim projects turn out sloppy.
You’ll need a miter saw for clean, angled cuts at corners. You’ll also need a coping saw for inside corners, where a straightforward miter cut won’t sit flush. A brad nailer speeds up installation significantly compared to hand-nailing. It also leaves smaller, easier-to-hide holes. Round out your kit with wood filler for nail holes, painter’s caulk for seams, a measuring tape, and a pencil for marking cut lines.
If you’re painting or staining the molding, add sandpaper, primer, and your chosen finish to the list. Pre-finishing the molding before installation often produces a cleaner result. That beats painting it in place after nailing, when possible.
Step-by-Step Installation Guide
Installing shoe molding follows a predictable process. Taking your time on measurements and cuts pays off in the final look.
- Measure the room’s perimeter. Add up the total linear footage you’ll need. Add roughly 10 percent extra to account for mistakes and waste during cutting.
- Choose your material and let it acclimate. Wood and MDF trim should sit in the room for at least 24 to 48 hours before installation. According to the U.S. Forest Service’s Forest Products Laboratory, wood naturally expands and contracts with changes in humidity. That’s why acclimating trim to a room’s conditions helps reduce warping or gapping later.
- Cut outside corners with a miter saw. Most outside corners require a 45-degree angle cut on each piece. The two pieces meet to form a clean 90-degree joint. Test the fit before nailing anything in place.
- Cope inside corners instead of mitering them. Coped joints hold up better than mitered inside corners over time. They accommodate minor shifts in the wall without opening a visible gap. Cut one piece straight into the corner. Then use a coping saw to shape the second piece so it fits snugly against the first piece’s profile.
- Nail the molding into place. Use a brad nailer to secure the molding along the bottom of the baseboard. Angle the nails slightly to help them grip. Nail into the baseboard itself, not the floor. Nailing into the floor prevents natural seasonal movement and can cause cracking over time.
- Fill nail holes and caulk seams. Use wood filler on nail holes. Apply paintable caulk along any seams or gaps between the molding and the wall or baseboard. This step makes a bigger visual difference than most people expect.
- Sand, prime, and paint or stain. Once caulk and filler have fully dried, sand any rough spots. Then apply primer and your final finish coat. Let each layer dry fully before adding the next.
DIY vs. Hiring a Professional
Shoe molding sits toward the easier end of trim carpentry. That makes it one of the more approachable DIY projects for a confident homeowner. Straight runs along flat walls go quickly, even for someone with limited woodworking experience.
That said, a few situations tip the scale toward hiring a pro. Rooms with lots of corners, curves, or uneven walls require more precise coping work. Mistakes there show up clearly in the final result. Installing molding throughout an entire home is different from doing a single room. The sheer volume of cuts and corners adds up fast. Professional installation starts to look more worthwhile relative to the time investment.
A professional installation typically wraps up a standard room in a matter of hours. An experienced installer will typically deliver tight, clean corners. If you’re short on time, tools, or patience for detail work, that convenience often justifies the added labor cost.
Common Mistakes to Avoid
A few recurring mistakes show up again and again in DIY shoe molding projects. Most are easy to avoid with a little extra care.
- Skipping the acclimation period. This is one of the most common issues, especially with solid wood. Installing trim straight out of the store, without letting it adjust to the room first, often leads to gaps or warping within the first few months.
- Mitering inside corners instead of coping them. This is a frequent shortcut that backfires. Mitered inside corners tend to open up small gaps as walls shift slightly over time.
- Nailing into the floor rather than the baseboard. It restricts the natural expansion and contraction that happens with seasonal humidity changes.
- Rushing the caulk and filler step. It leaves visible nail holes and seams, which undermines an otherwise solid installation.
If you’re still deciding between profiles, our quarter round molding guide covers the types, sizes, and costs of the closest alternative to shoe molding.
Maintenance and Longevity
Shoe molding generally requires very little upkeep once installed correctly. Wipe it down periodically with a damp cloth to remove dust buildup. Touch up paint or caulk as needed if you notice small gaps opening over time, particularly during seasonal humidity shifts.
MDF molding holds up well in dry, stable environments. But it’s more vulnerable to water damage than PVC or solid wood. Avoid using MDF shoe molding in bathrooms or other high-moisture areas unless it’s been properly sealed and maintained. Swelling and warping happen faster with MDF than with moisture-resistant alternatives.
Final Thoughts
Shoe molding solves a small but noticeable problem. It hides the gap between your baseboard and floor, while adding a clean, finished look to any room. Whether you tackle it yourself or hire a professional, understanding the material options, tools, and step-by-step process helps you budget accurately. It also helps you avoid the most common installation mistakes. Take your time on measurements and corner joints especially. Those two details separate a polished result from one that looks rushed.
Frequently Asked Questions
How much does shoe molding cost per linear foot?
Professional installation typically costs $2 to $6 per linear foot, averaging around $4. That includes both materials and labor. Material costs alone range from $0.50 to $3.00 per linear foot, depending on whether you choose MDF, PVC, or solid wood.
What’s the difference between shoe molding and quarter round?
Both cover the same gap between baseboard and flooring. Shoe molding has a slightly more detailed curved profile. Quarter round follows a simpler quarter-circle shape. The choice usually comes down to style preference, not function.
Can I install shoe molding myself?
Yes, shoe molding is one of the more approachable DIY trim projects. It’s especially manageable for straight runs along flat walls. Rooms with lots of corners or uneven walls require more precise coping work. That may be worth hiring out if you’re short on experience or time.
Should I nail shoe molding into the floor or the baseboard?
Always nail into the baseboard, not the floor. Nailing into the floor restricts natural seasonal expansion and contraction. That can cause cracking or gaps over time.
What material is best for shoe molding in a bathroom?
PVC is the best choice for bathrooms and other high-moisture areas. It resists water damage significantly better than MDF. Solid wood can work too if properly sealed. But MDF is prone to swelling in humid conditions.
Do I need to let shoe molding acclimate before installing it?
Yes, especially with wood or MDF. Let the material sit in the room for 24 to 48 hours before installation. That gives it time to adjust to the room’s humidity and temperature, which reduces the risk of warping or gapping later.
How long does it take to install shoe molding in a standard room?
A professional can typically complete a standard room in a few hours. DIY installation usually takes longer. The timeline depends on your experience level and the number of corners and cuts required.
Should inside corners be mitered or coped?
Coped joints generally hold up better than mitered inside corners over time. They accommodate minor wall shifts without opening a visible gap. Mitering works fine for outside corners. But coping is the better choice for inside corners.