

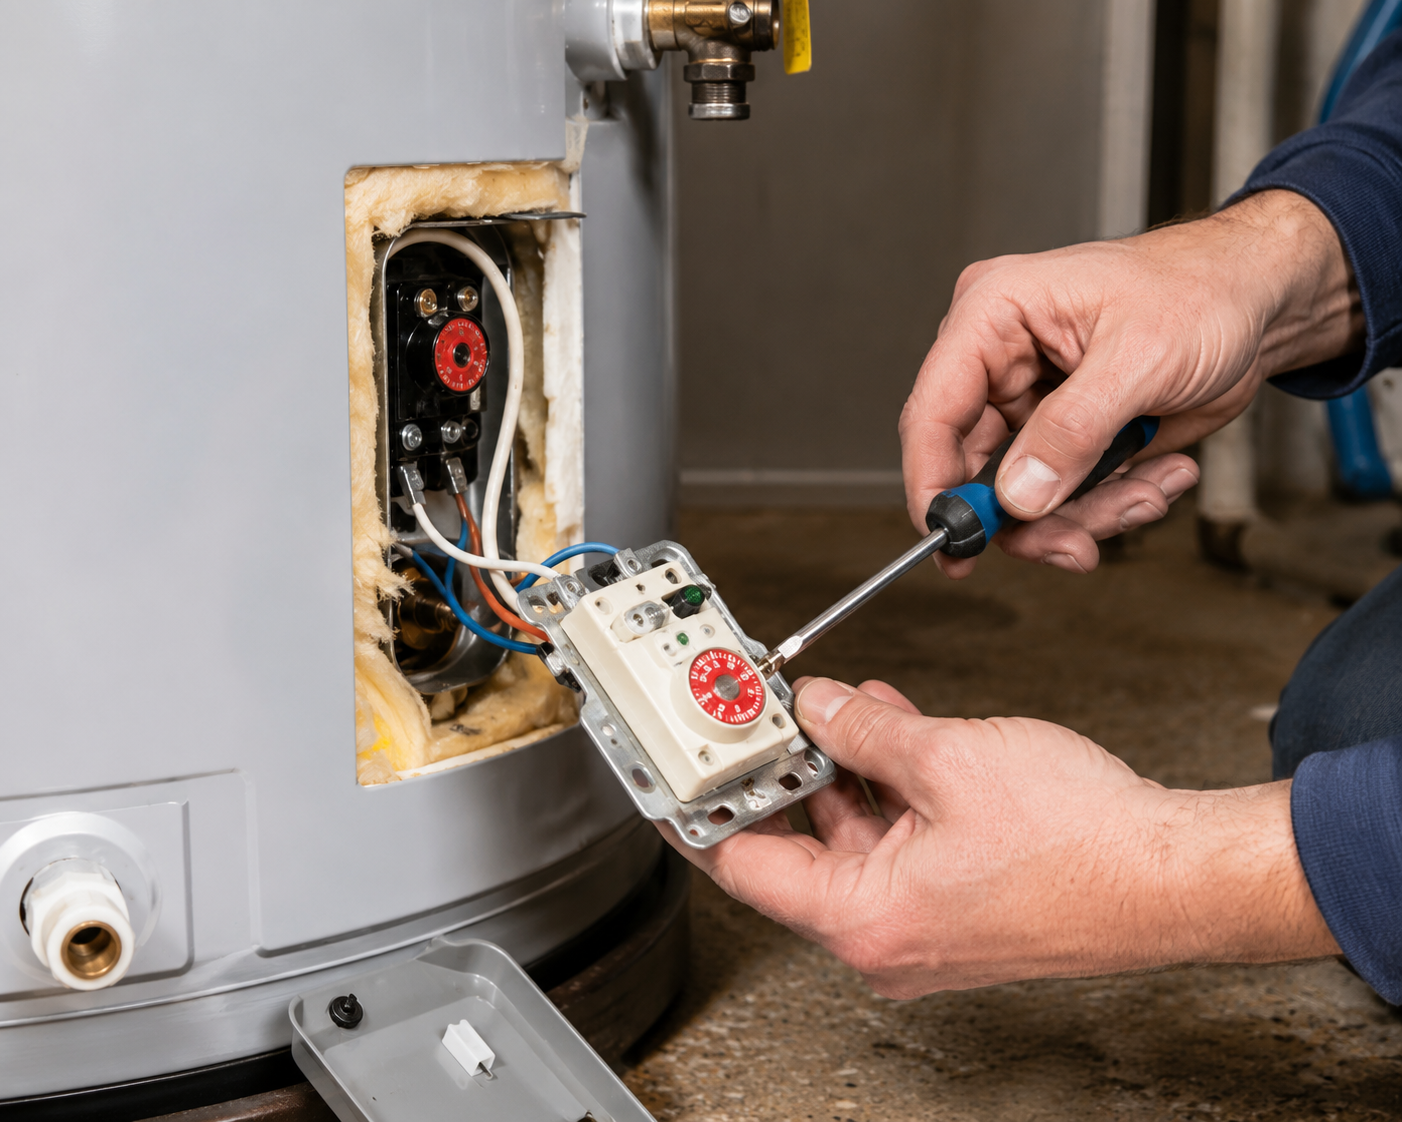
A cold shower on a Tuesday morning teaches you a lot about your water heater. Fast. If your hot water runs out quickly, swings between scalding and lukewarm, or your energy bill jumped for no clear reason, start with the thermostat. It’s usually the culprit.
This guide covers how upper and lower thermostats work. It also covers how to adjust them safely, when to replace instead of repair, and what replacement actually costs in 2026.
I pulled these numbers from current Department of Energy guidance, CDC bacteria-control recommendations, and pricing data from national repair networks. So they reflect what homeowners across the US are paying and experiencing right now. Still, check your specific model’s manual first, since dial markings and access panels vary by brand.
Why Your Water Heater Has Two Thermostats
Most standard electric water heaters use two heating elements and two matching thermostats. Brands like Rheem, AO Smith, Bradford White, and Whirlpool all follow this design. One thermostat sits behind the upper access panel. The other sits behind the lower panel. Why two? Because heating water in stages is more efficient than heating it all at once.
The upper thermostat controls the top element, and it usually takes priority. When you run the hot tap and the tank temperature drops, the top element heats that upper section first. Once it hits the set temperature, control passes down to the lower thermostat and element. That handoff matters for diagnosis. A failing upper thermostat often shows up as water that starts warm and quickly turns cold, since the tank never fully recovers. A failing lower thermostat usually means a shorter burst of hot water overall, since most of the tank isn’t heating properly.
Gas water heaters skip this split entirely. A single thermostat lives inside the gas control valve near the bottom of the tank. There’s no upper and lower divide on a gas unit, so don’t go looking for a second panel that isn’t there.
Signs Your Thermostat Needs Replacing, Not Just Adjusting
Rule out simpler causes first. Sediment buildup, a tripped high-limit switch (the “red reset button”), or a tripped breaker can all mimic thermostat failure. But a few signs point directly to the thermostat itself.
Fluctuating water temperature is the classic symptom. Water that suddenly turns scalding, then ice cold, mid-shower usually means the thermostat has failed, not just drifted out of range. Second, check whether adjustments actually work. If you turn the dial and the real output temperature never changes, even after 24 hours, the thermostat has likely stopped reading correctly. Third, watch for a total loss of hot water paired with a high-limit switch that keeps tripping. That combination often points to a stuck or internally failed thermostat. Finally, a multimeter test showing no continuity, when the thermostat should be closed, gives you about as clear a diagnosis as you’ll get without opening the unit further.
See any of these? Replace the thermostat instead of adjusting it again. A unit that’s drifted out of calibration once will likely drift again.
What Temperature Should You Actually Set It To?
Homeowners get this wrong in one direction or the other, constantly. The Department of Energy recommends 120°F as the standard setpoint for most households. That number isn’t arbitrary. It balances two real risks against each other.
Water that’s too cool creates ideal conditions for Legionella bacteria. The CDC notes that Legionella thrives between 77°F and 113°F, and it can even grow at temperatures as low as 68°F. Water that’s too hot creates a genuine scald hazard, especially for young children and older adults. A.O. Smith places the safest range between 120°F and 140°F, and most manufacturers ship units preset at 120°F for exactly this reason.
Some situations call for running warmer. Households with an immunocompromised member sometimes benefit from a higher setting. So do homes where hot water smells off, which can signal bacterial growth; a temporary bump to 140°F for 24 hours usually clears it up, followed by a return to 120°F. Long pipe runs between the tank and fixtures matter too. So does sediment buildup in older units, which insulates the heating element and forces a higher dial setting just to match the output you once got at 120°F.
Want the bacterial protection of a hotter tank without the scald risk at the faucet? Consider a thermostatic mixing valve. It blends cold water in right at the outlet. The tank stores water above 120°F safely, and every fixture in the house still gets water at a safe, consistent temperature.
How to Adjust an Electric Water Heater Thermostat: Upper and Lower
Many homeowners can handle this one themselves. You just need to feel comfortable near electrical components and follow the steps in order.
Start by shutting off power at the circuit breaker. Don’t skip this step. Ever. Electricity and water together are genuinely dangerous, and no adjustment is worth the risk. Next, confirm the power is actually off using a non-contact voltage tester. Once you’ve verified it’s safe, remove the metal access panel with a Phillips screwdriver. Most units have one panel near the top and one near the bottom. Behind each panel, you’ll find insulation and a plastic safety guard covering the thermostat and element. Remove both before touching the dial.
Now adjust the thermostat dial with a flathead screwdriver, typically to 120°F. Set the upper thermostat first, then move to the lower one, and match both settings. This step matters more than people think. A mismatch, where one thermostat runs noticeably higher than the other, causes the uneven heating pattern many homeowners mistake for a failing unit. Once both match, reassemble the safety guard, insulation, and panel. Then restore power at the breaker.
Give the system a few hours to stabilize. Then test the actual water temperature at the tap with a simple cooking thermometer. This step matters more than people expect, because dial markings don’t always match real output, especially on older units with calibration drift.
How to Adjust a Gas Water Heater Thermostat
Gas units are simpler in one way and trickier in another. The temperature dial sits right on the gas control valve, usually near the bottom front of the tank. No tools or power shutoff needed. Just turn the dial to your preferred setting, whether that’s a numbered scale or a warm-to-hot range depending on your brand.
Accuracy is the tricky part. Gas thermostat dials are notoriously imprecise. The actual water temperature can differ from the dial setting by 10°F or more. Always verify with a thermometer at the tap instead of trusting the dial alone. Turned the dial and seen no real change after a few hours? Or does the pilot light refuse to stay lit? The gas control valve itself is likely the problem, and that job belongs to a licensed technician, not a DIY afternoon.
Replacing a Water Heater Thermostat: DIY or Professional?
Replacement follows a similar sequence to adjustment on electric units. You’re just swapping the actual part instead of turning a dial. Shut off power and confirm it’s dead with a tester first. Then drain a few gallons from the tank to relieve pressure. Disconnect the wiring from the old thermostat, and note which wire goes where. Better yet, snap a photo before you disconnect anything. Then click the new thermostat into the bracket, reconnect the wiring exactly as it was, and test it with the panel still open before sealing everything back up.
Electric thermostat replacement sits well within reach for a moderately handy homeowner. The parts are cheap, and the process, while it demands care, doesn’t require specialized tools. Gas water heater thermostats work differently. Since the thermostat lives inside the gas control valve, replacing it usually means replacing the whole valve assembly. That involves working directly with gas lines. Most technicians and manufacturers recommend leaving this job to a licensed plumber.
Not sure about wiring, gas connections, or local code requirements? Call a professional. It’s the safer move. The modest labor cost often buys real peace of mind, especially on a system that touches both water and electricity or gas.
What Does Thermostat Replacement Cost in 2026?
Pricing has held fairly steady heading into mid-2026, though labor rates shift by region. A professional thermostat replacement typically runs $150 to $200, with the part itself costing around $20. National repair networks put the broader range between $100 and $350, depending on whether it’s a gas or electric unit and whether a heating element gets swapped at the same time.
DIY replacement costs much less on electric units. Parts alone often run $25 to $80. Professional installation adds a labor premium, but you get calibration accuracy and safety assurance in return. Gas control valve replacement, which is really what “thermostat replacement” means on a gas unit, tends to run higher: generally $150 to $550 once labor gets factored in.
Expect higher prices in areas with a higher cost of living, like the Northeast and West Coast. The Midwest and parts of the South typically run cheaper. Did a plumber quote a full water heater repair north of $300 on a unit already past ten years old? Compare that number against full replacement cost. Older tanks tend to develop more issues once you start opening them up.
Regional Considerations Across the US
Climate and water conditions change how you should think about thermostat settings. Colder states like Minnesota, Wisconsin, and much of the Northeast deal with colder groundwater in winter. Your water heater works harder to reach the same setpoint as a result. Homeowners here sometimes notice a temporary dip in hot water output during the coldest months. That’s not necessarily a thermostat failure. It’s the unit compensating for colder input water.
Hard water regions, like much of the Southwest and parts of Texas, build mineral deposits faster on heating elements. That buildup can insulate the thermostat’s sensing bulb and throw off its readings over time. Flushing the tank once a year slows this process considerably. Gulf Coast states face a different challenge: humidity drives corrosion as the bigger long-term concern. Anode rod inspection often goes hand in hand with thermostat maintenance in these areas.
Renovating or replacing fixtures elsewhere in the house? Take a look at our related water heater maintenance checklist to see how thermostat care fits into the full annual upkeep routine. These tasks tend to overlap more than people expect.
Safety Tips and Common Mistakes to Avoid
A few mistakes come up again and again, even among people who’ve done this before. Adjusting only one thermostat and forgetting the other tops the list. That mistake leads directly to the uneven heating pattern covered earlier. Skipping the breaker shutoff on electric units ranks as the most dangerous mistake, full stop. It’s never worth the shortcut.
Trusting the dial without verifying at the tap is another frequent misstep, particularly on older gas units where calibration has likely drifted. Tell everyone in the household before you start, especially if you’re temporarily raising the temperature to disinfect the tank. A 140°F setting can cause serious burns fast, and a warning text to family members takes thirty seconds.
Finally, don’t ignore a tripped high-limit switch that keeps resetting itself. That’s a safety mechanism doing its job. Resetting it repeatedly without diagnosing the underlying thermostat issue just invites a bigger failure down the road.
When to Call a Licensed Professional
Some situations call for a professional every time, no matter how comfortable you are with tools. Any gas control valve or thermostat issue falls into this category, since it involves combustible fuel lines. Smell gas at any point? Stop immediately, leave the area, and call your utility provider before doing anything else.
On electric units, hand it off to a licensed electrician or plumber if you’re not confident testing for voltage or reading wiring diagrams. They’ll handle it faster and more safely than a first attempt would. And if your water heater has already passed its typical ten-to-fifteen-year lifespan, ask a technician whether replacement makes more financial sense than repair. Repeated repairs on an aging tank add up fast.
For deeper technical guidance on energy-efficient water heating, check the Department of Energy’s official water heating resource page. It’s a solid, authoritative reference worth bookmarking.
Frequently Asked Questions
What temperature should I set my water heater thermostat to?
Aim for 120°F in most households. This setting balances safety, energy costs, and bacteria control. It’s also the standard factory setting on most new units sold in the US.
Why does my water heater have two thermostats?
Electric water heaters use an upper and lower thermostat, each paired with its own heating element, to heat the tank in stages. Gas units use a single thermostat built into the gas control valve instead.
How do I know if my thermostat is bad versus just needing adjustment?
Check whether the dial actually changes the water temperature. If adjustments don’t work after several hours, or if you notice fluctuating hot and cold water despite a stable setting, the thermostat is likely failing rather than simply misadjusted.
Can I replace a water heater thermostat myself?
Yes, on electric units, as long as you shut off power at the breaker and confirm it with a voltage tester first. Gas control valve thermostats generally need a licensed plumber, since gas connections are involved.
How much does it cost to replace a water heater thermostat in 2026?
Professional replacement typically runs $100 to $350, including parts and labor. DIY electric thermostat parts alone often cost $25 to $80. Gas control valve replacement runs higher, generally $150 to $550.
Is it safe to set my water heater above 120°F?
Brief periods above 120°F are generally safe. Raising the tank to 140°F for 24 hours to control bacteria works fine, as long as you warn household members in advance. For everyday use, stick close to 120°F to keep scald risk low while still preventing bacterial growth.
Why does my hot water run out faster in winter?
Colder incoming groundwater during winter months forces your water heater to work harder to reach its setpoint. This can look like reduced hot water output, even when the thermostat itself works fine.
Should I upgrade to a smart or digital thermostat when replacing mine?
It’s optional, but worth considering. Programmable models help maintain more consistent temperatures. Over time, they can also contribute to lower energy costs compared with standard mechanical dials.
Final Thoughts
Thermostat issues rank among the more approachable water heater repairs, especially on electric units. The parts are cheap. The process, while it demands care, doesn’t require specialized training. Still, small details matter: match your upper and lower settings, verify actual output with a thermometer instead of trusting the dial, and never skip the breaker shutoff.
When in doubt, especially with gas units, call a licensed plumber. The modest labor cost buys real safety and calibration accuracy. Either way, getting this right pays off. You get a more consistent shower, a lower energy bill, and one less thing to worry about during a busy week.