

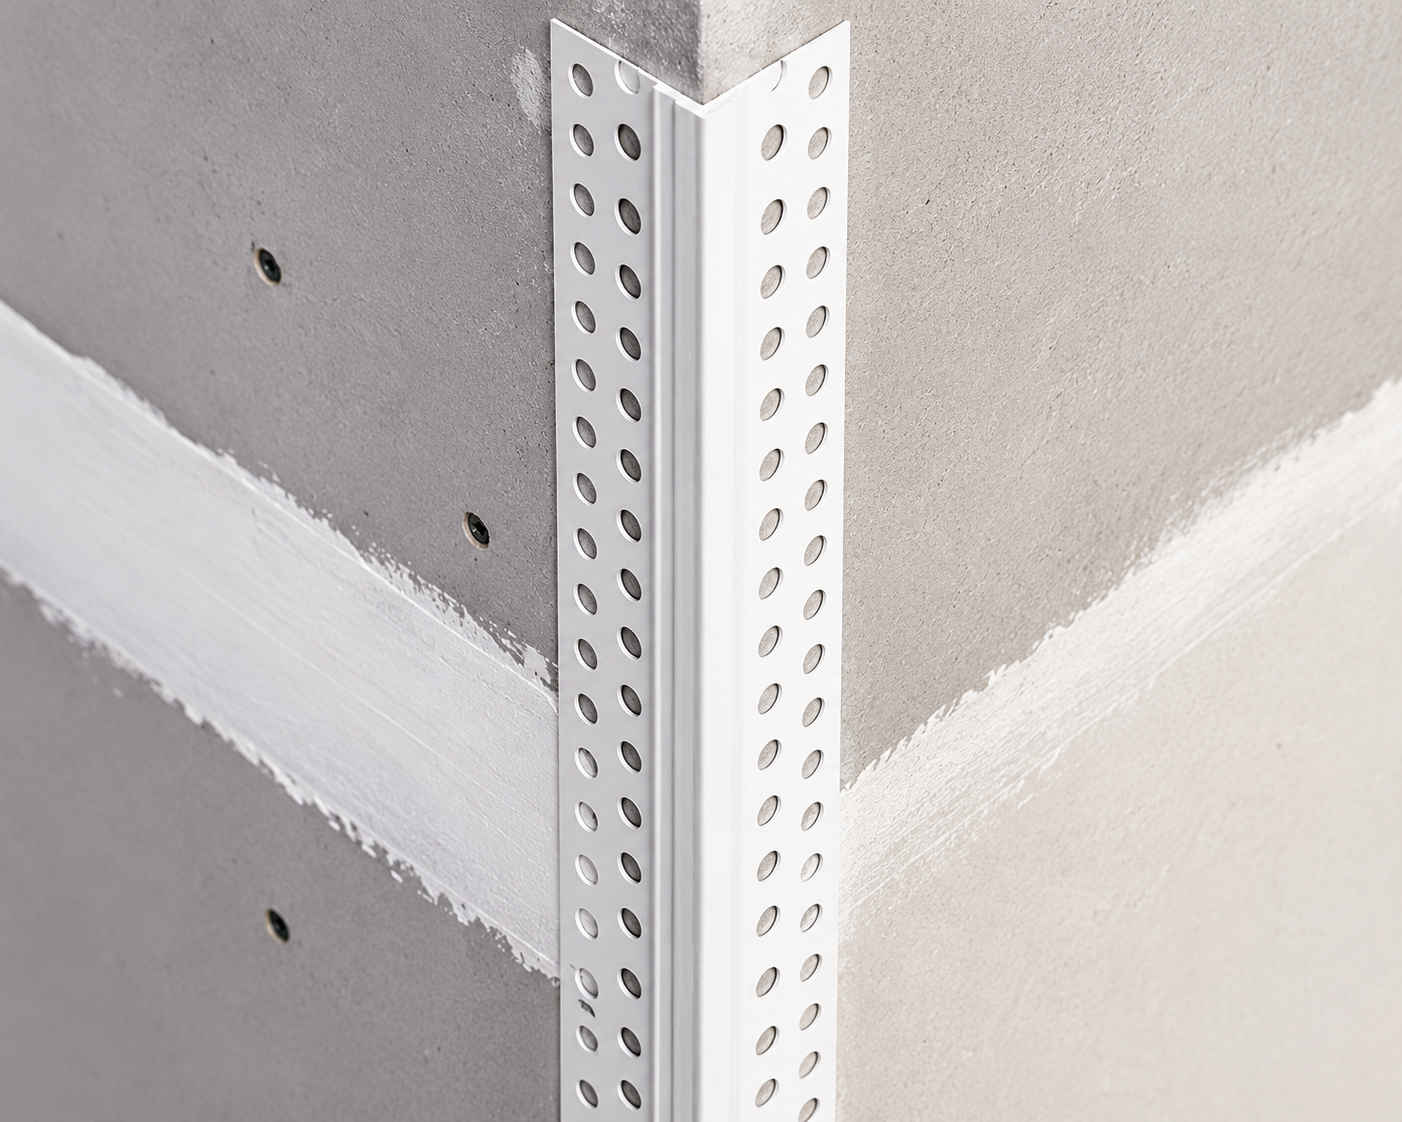
The first time I installed corner bead, I picked the wrong type for the job. It looked fine going up. A few months later, though, the corner had a hairline crack running right down the middle. That mistake taught me something every drywaller eventually learns: corner bead isn’t a one-size-fits-all product. Choosing the right type matters just as much as installing it correctly.
If you’re planning a drywall project, whether it’s a single room or a full renovation, this guide will walk you through the main types of corner bead, how to pick the right one, and the installation steps that actually hold up over time. I’ll also cover a few regional considerations for US homeowners, since climate and humidity play a bigger role here than most people expect.
What Is Drywall Corner Bead and Why It Matters
Corner bead is a rigid strip installed over the outside corners of drywall, where two panels meet at an angle. Drywall edges are naturally brittle, so without protection, they chip and crack easily during everyday bumps and impacts.
Beyond protection, corner bead also creates a clean, straight line for joint compound to follow. This gives your finished walls that crisp, professional look you see in well-built homes. Skipping it, or installing it poorly, usually shows up later as wavy corners, visible seams, or cracks that keep reappearing no matter how many times you patch them.
Types of Drywall Corner Bead
Not all corner bead is created equal. Each type has its own strengths, and choosing the right one depends on your project’s location, budget, and the level of durability you need.
Metal Corner Bead
Metal corner bead, typically made from galvanized steel or aluminum, has been the traditional standard for decades. It’s strong, holds a sharp 90-degree angle well, and resists impact better than most alternatives. Because of this, it’s often the go-to choice for hallways, stairwells, and other high-traffic areas.
That said, metal bead does have downsides. It can dent if mishandled, and installation typically requires nails, screws, or a crimping tool. Additionally, in areas with fluctuating humidity, metal bead is more prone to nail popping over time compared to some newer alternatives.
Vinyl Corner Bead
Vinyl corner bead has grown in popularity, largely because it solves several problems metal bead can’t. It’s lightweight, resistant to rust, and far more forgiving if bumped during construction, since it flexes slightly instead of denting.
This flexibility also makes vinyl a smart choice for humid climates, including bathrooms, kitchens, and homes in the Gulf Coast or Southeast, where moisture exposure is a bigger concern. Installation is straightforward too, since vinyl bead is usually embedded directly into joint compound or secured with staples.
Paper-Faced Corner Bead
Paper-faced corner bead uses a metal or plastic core wrapped in a layer of paper. Because the paper bonds directly with joint compound, this option tends to blend seamlessly into the wall once finished, with fewer visible ridges than traditional metal bead.
However, proper installation is crucial here. If the paper isn’t fully embedded and pressed firmly into wet compound, it can peel away later, leading to an unattractive corner that often needs to be removed and redone. This type rewards patience and careful technique more than the others.
Bullnose Corner Bead
Bullnose corner bead creates a smooth, rounded transition instead of a sharp 90-degree angle. It’s a popular choice for homeowners wanting a softer, more contemporary look, and it’s available in metal, vinyl, or paper-faced versions depending on your preferred finish.
Since bullnose corners round off sharp edges, they can also be a practical choice for homes with young children, where softened corners reduce the risk of injury from accidental bumps.
No-Coat and Flexible Corner Bead
No-coat, or flexible, corner bead is designed for curves, arches, and other non-standard angles that traditional rigid bead simply can’t handle. Made mostly of vinyl, this type flexes around contours while still providing a stable edge for joint compound.
If your project includes archways or curved walls, this is usually the only practical option. For standard 90-degree corners, though, it isn’t typically necessary, since rigid options tend to hold up better under regular impact.
How to Choose the Right Corner Bead for Your Project
Start by thinking about location and expected wear. High-traffic hallways and stairwells generally benefit from metal or vinyl bead, since both hold up well against everyday impact. Bathrooms, laundry rooms, and homes in humid regions, meanwhile, often do better with vinyl, since it resists moisture-related issues that can affect metal over time.
If you’re going for a modern, softened aesthetic, bullnose is worth considering, especially in living areas or homes with kids. For curved walls or archways, flexible no-coat bead is really your only practical route. Finally, factor in your own comfort level with installation. Paper-faced bead looks fantastic when done right, but it does demand more careful technique than metal or vinyl.
Tools You’ll Need for Installation
Before you start, gather the right tools so the job goes smoothly. You’ll typically need a tape measure, tin snips or a hacksaw for cutting bead to length, a level to check for plumb corners, a taping knife, joint compound, and either nails, screws, staples, or a crimping tool, depending on the bead type you’ve chosen.
Having a mud pan on hand also helps keep your workspace organized, especially if you’re applying multiple coats across several corners in one session.
How to Install Drywall Corner Bead Step by Step
Step 1: Measure and cut. Measure each corner carefully, then cut your corner bead to length using tin snips, a hacksaw, or a utility knife, depending on the material.
Step 2: Position and check for plumb. Hold the bead against the corner and use a level to confirm it’s straight before securing it. Skipping this step often leads to crooked corners that are frustrating to fix later.
Step 3: Secure the bead. For metal bead, drive nails or screws roughly every six to eight inches along both flanges, or use a crimping tool if you prefer that method. For vinyl or paper-faced bead, embed it into a bed of joint compound instead, pressing firmly along both sides.
Step 4: Apply the base coat. Spread joint compound generously over the bead, extending two to three inches on each side. Smooth it out with your taping knife, feathering the edges so they blend into the surrounding wall.
Step 5: Let it dry, then sand. Once the first coat has fully dried, lightly sand any ridges before applying a second, wider coat. Most professionals apply three coats total, each one slightly wider than the last, to achieve a smooth, seamless finish.
Step 6: Final sand and inspect. After the final coat dries, sand smooth using fine-grit sandpaper, then run a light over the wall to check for imperfections before priming and painting.
Common Corner Bead Installation Mistakes to Avoid
Even experienced DIYers run into a few recurring problems. Rushing the drying time between coats is one of the most common mistakes, since sanding or coating too early usually leaves visible ridges or bubbles in the finish. Another frequent issue is skipping the level check, which leads to crooked corners that are difficult to correct after the compound has dried.
Additionally, using metal bead in consistently humid environments without proper ventilation can lead to nail popping over time. Finally, rushing the embedding process for paper-faced or vinyl bead often results in peeling, so take the extra few minutes to press firmly and check for full adhesion before moving on.
Regional Considerations for US Homes
Climate plays a bigger role in corner bead selection than many homeowners realize. In humid regions like the Gulf Coast, Florida, and parts of the Southeast, vinyl corner bead tends to hold up better than metal, since it resists moisture-related warping and rust far more effectively.
In drier climates, such as the Southwest, metal bead performs reliably well, since humidity-related issues are less of a concern. Meanwhile, homes in colder Northern states dealing with seasonal humidity swings, from dry winter heating to humid summers, may benefit from vinyl or paper-faced bead, since both handle expansion and contraction more gracefully than rigid metal over time.
Building Codes and Industry Standards
If you want to install corner bead to a true professional standard, it’s worth understanding the guidelines that contractors and inspectors reference. The Gypsum Association’s GA-216 standard covers proper application and finishing of gypsum panel products, including outside corners, and is referenced directly in the International Building Code.
Following these guidelines isn’t just about passing inspection, either. They reflect decades of industry testing on fastener spacing, corner protection methods, and finishing techniques that hold up over the long term. If you’re tackling a larger renovation, our complete guide to drywall taping and mudding techniques covers the finishing steps that follow corner bead installation in more detail.
Frequently Asked Questions
1. What’s the best type of corner bead for a DIY project? For most first-time DIYers, vinyl corner bead is a forgiving choice, since it’s lightweight, resists denting, and installs without special tools like a crimper.
2. Can I use vinyl corner bead in a bathroom? Yes, and it’s actually one of the best choices for bathrooms, since vinyl resists moisture and rust far better than metal bead in humid environments.
3. How far apart should fasteners be when installing metal corner bead? Industry guidelines generally recommend spacing fasteners every six to nine inches along both flanges, though it’s worth checking manufacturer instructions for your specific product.
4. Why is my corner bead cracking after installation? Cracking often happens when joint compound is applied too thin, dries too quickly, or wasn’t properly feathered during finishing. It can also occur if the wrong bead type was used for a high-movement area.
5. Is bullnose corner bead harder to install than square corner bead? It’s slightly more involved, mainly because achieving a smooth, rounded finish takes a bit more practice with your taping knife. Otherwise, the core installation process is fairly similar.
6. How many coats of joint compound does corner bead need? Most professionals apply three coats total, a base coat, a fill coat, and a finish coat, with each one extending slightly wider than the last for a smooth transition.
7. Can corner bead be repaired instead of replaced if it’s damaged? Minor dents or small cracks can often be patched with fresh joint compound and sanding. However, significant damage, like a badly bent metal bead, usually requires removal and reinstallation for a lasting fix.
8. Do I need special tools to install corner bead? Basic tools like tin snips, a level, a taping knife, and joint compound cover most installations. Metal bead may additionally require a crimping tool or fasteners, depending on your preferred method.